Hey Champ! If you need to update the time zone for your Workspace, Social Champ has you covered. Follow these simple steps, which will walk you through the process in just a few clicks.
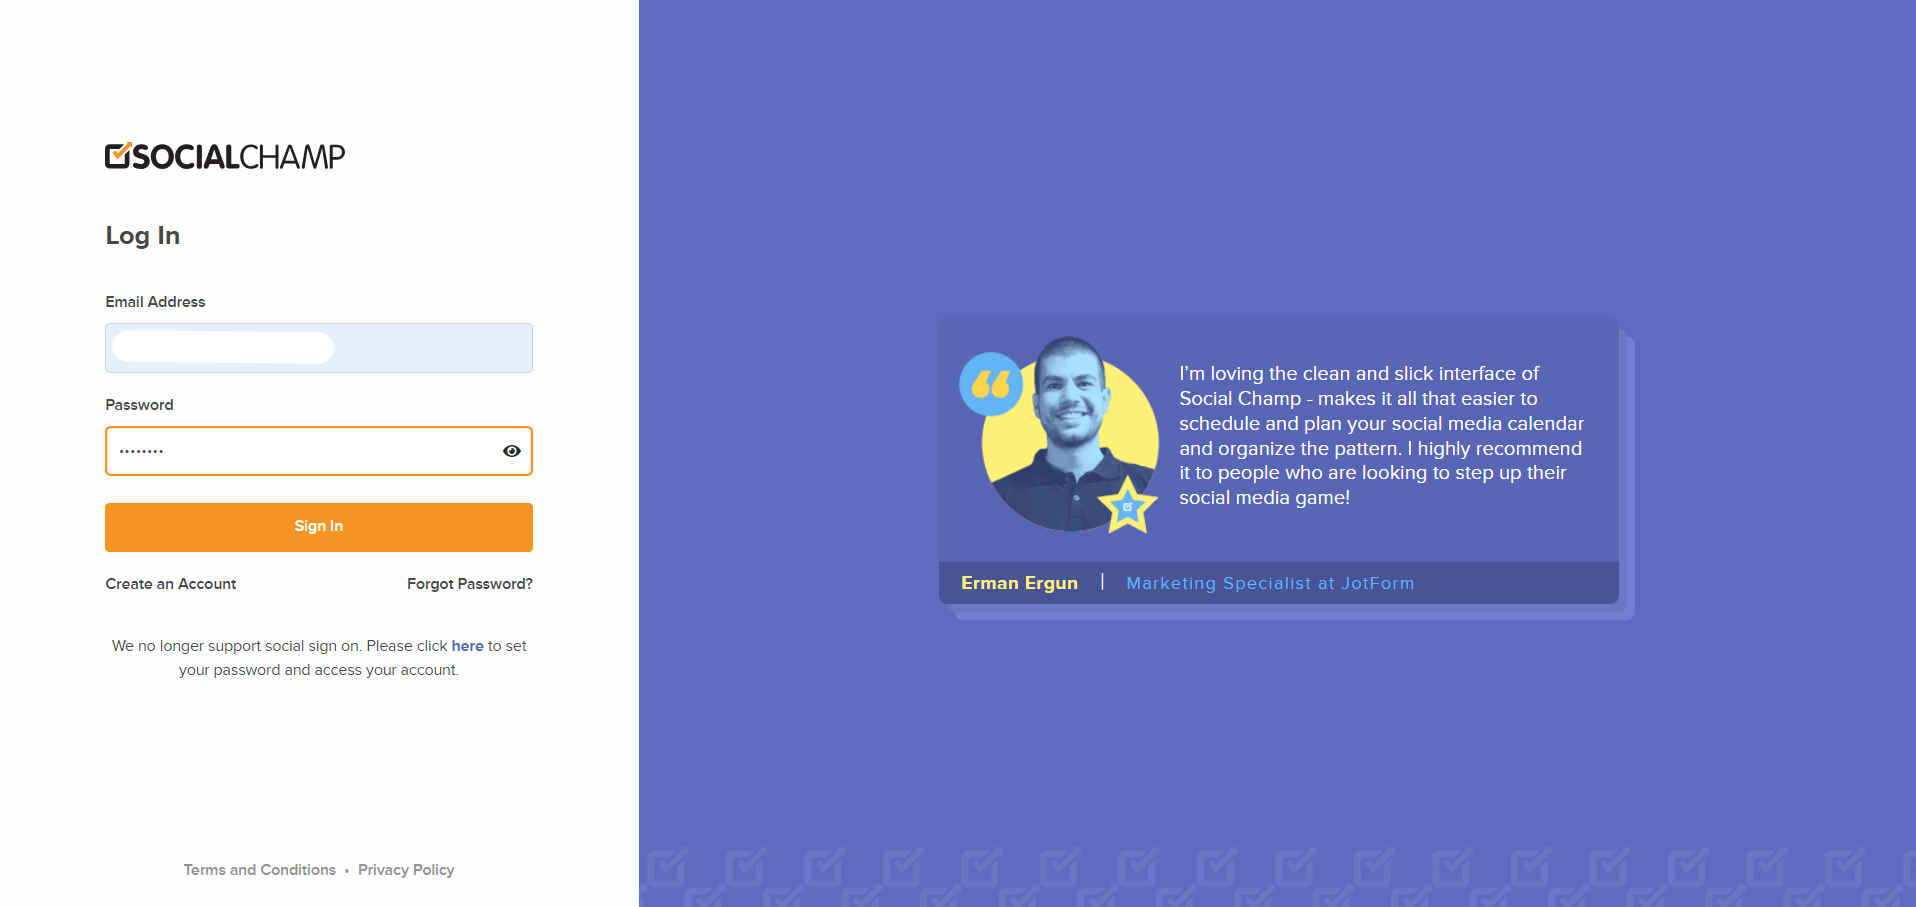
1. Login to Your Social Champ Account
- Open Social Champ in your web browser.
- Enter your current email address and password on the login page.
- Click Sign In to access your account.

2. Create a Post
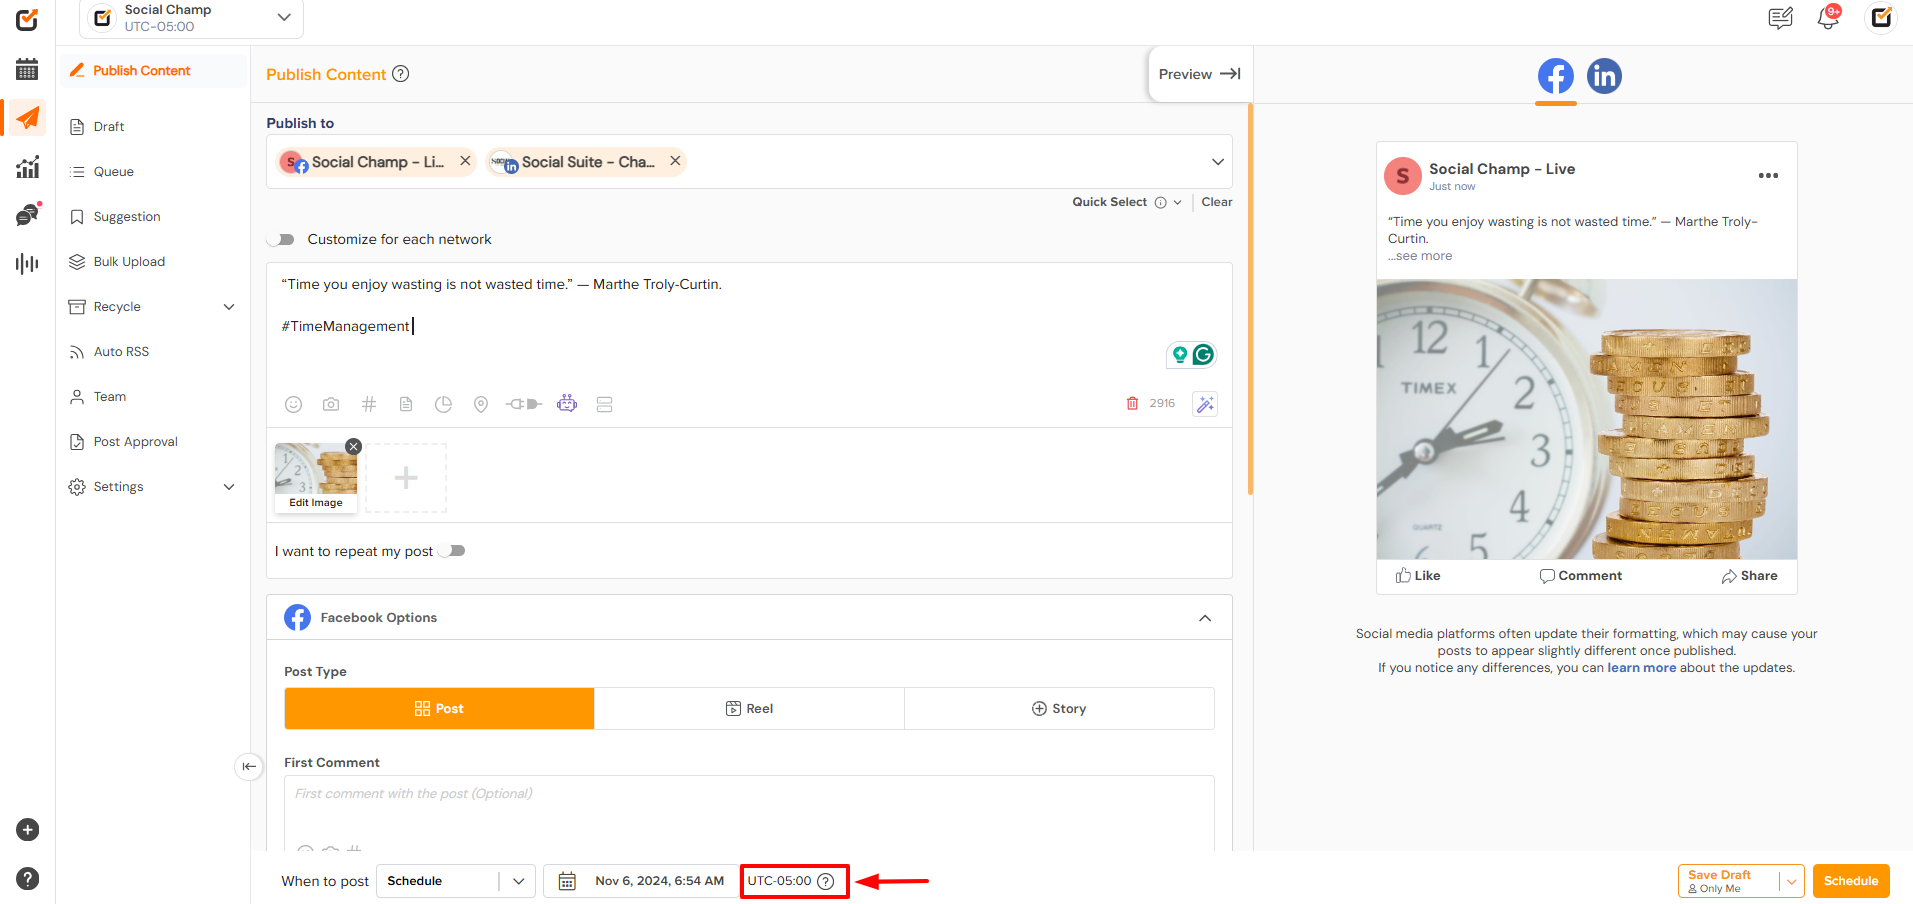
- Once in the Publish dashboard, go ahead and compose your post and add your hashtags and media.

3. Update the Time Zone
- Navigate to the bottom and decide when you want the post published.
- Please note: Your time is calibrated to UTC-00 by default. If you would like to change it, click the Time Zone.

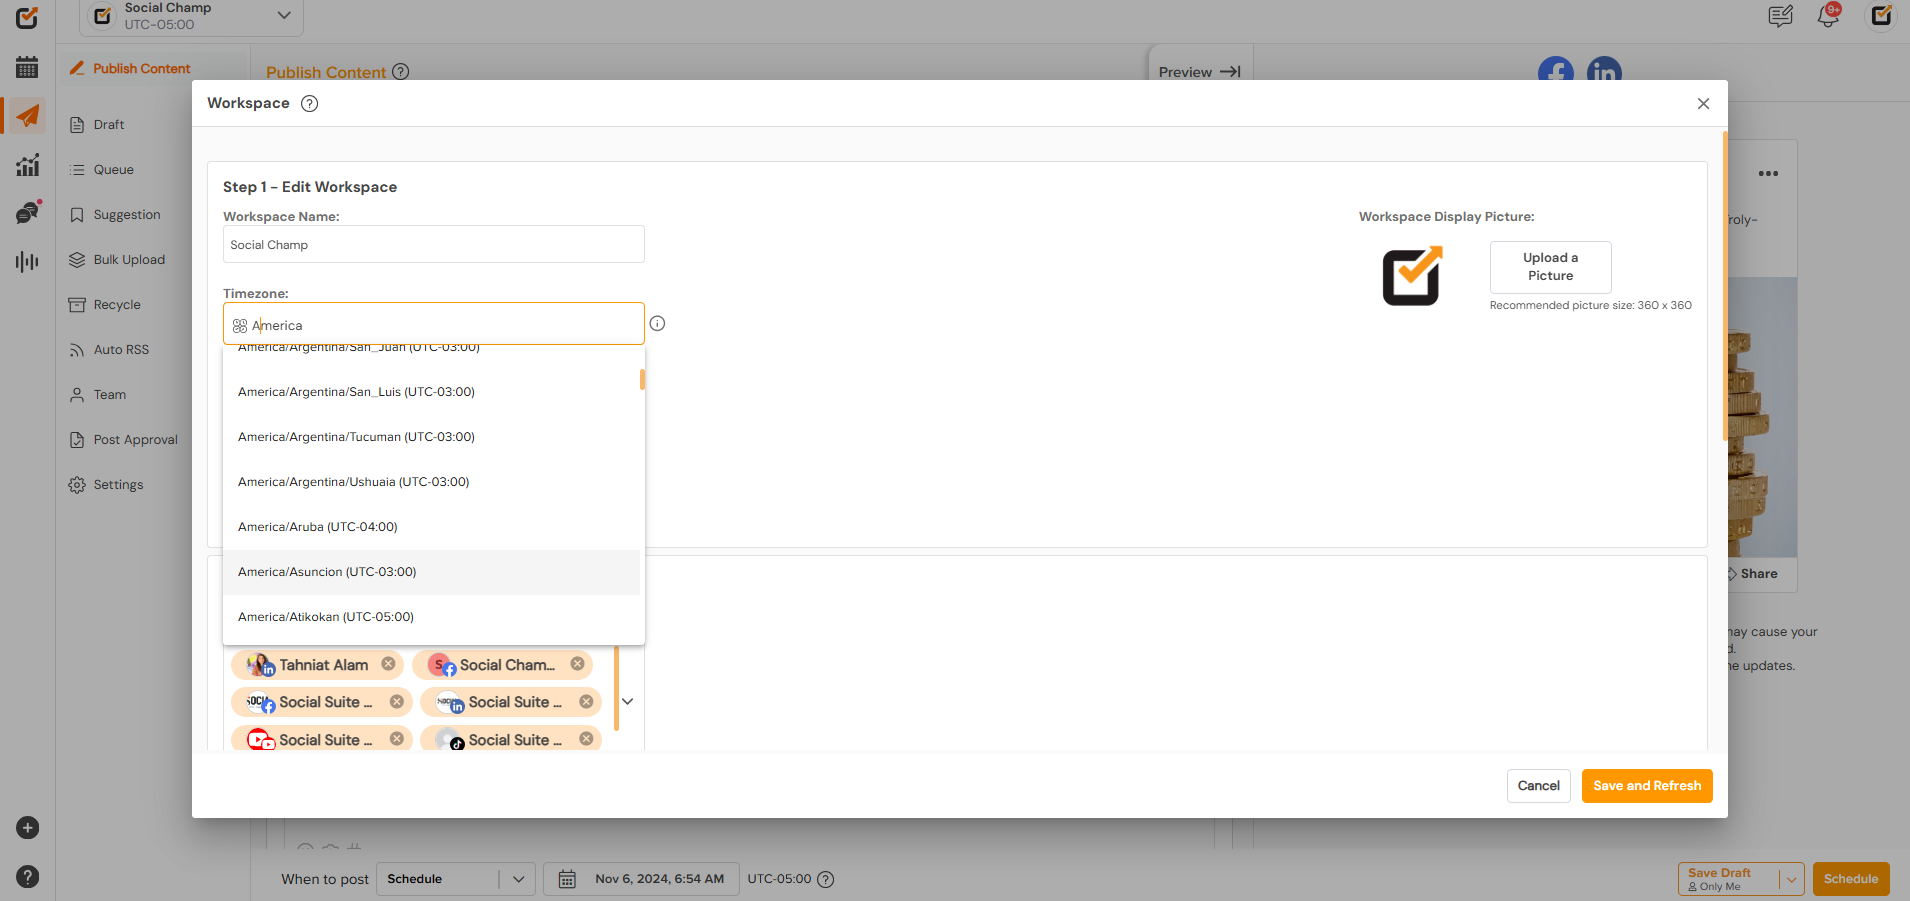
- You will be redirected to the workspace settings tab.

- Click the time zone field and a drop-down will be released. You can either search for the preferred Time Zone from the list or type it in the field.
4. Save Changes
- Once finalized, click the save and Refresh button. Now, all your posts will get published at the new Time Zone you have set up for the workspace.

Note
- Scheduled Posts: The time zone you set will apply to all your scheduled posts for the social media accounts available in that Workspace. After changing your time zone, make sure to adjust the post times accordingly.
- Workspace: Time Zones can differ for each workspace and the Social Profiles connected to the selected workspace will publish/schedule posts according to the Time Zone it is calibrated to.
Need Help?
If you encounter any issues or need further assistance, feel free to contact our support team via the Help Center or email us at support@socialchamp.io. We’re here to help!
Happy Scheduling Champs!
Was this helpful?
Thanks for your feedback!
