Hello Champs! 🎉 Follow this easy step-by-step guide to learn how to schedule media effortlessly using Social Champ.
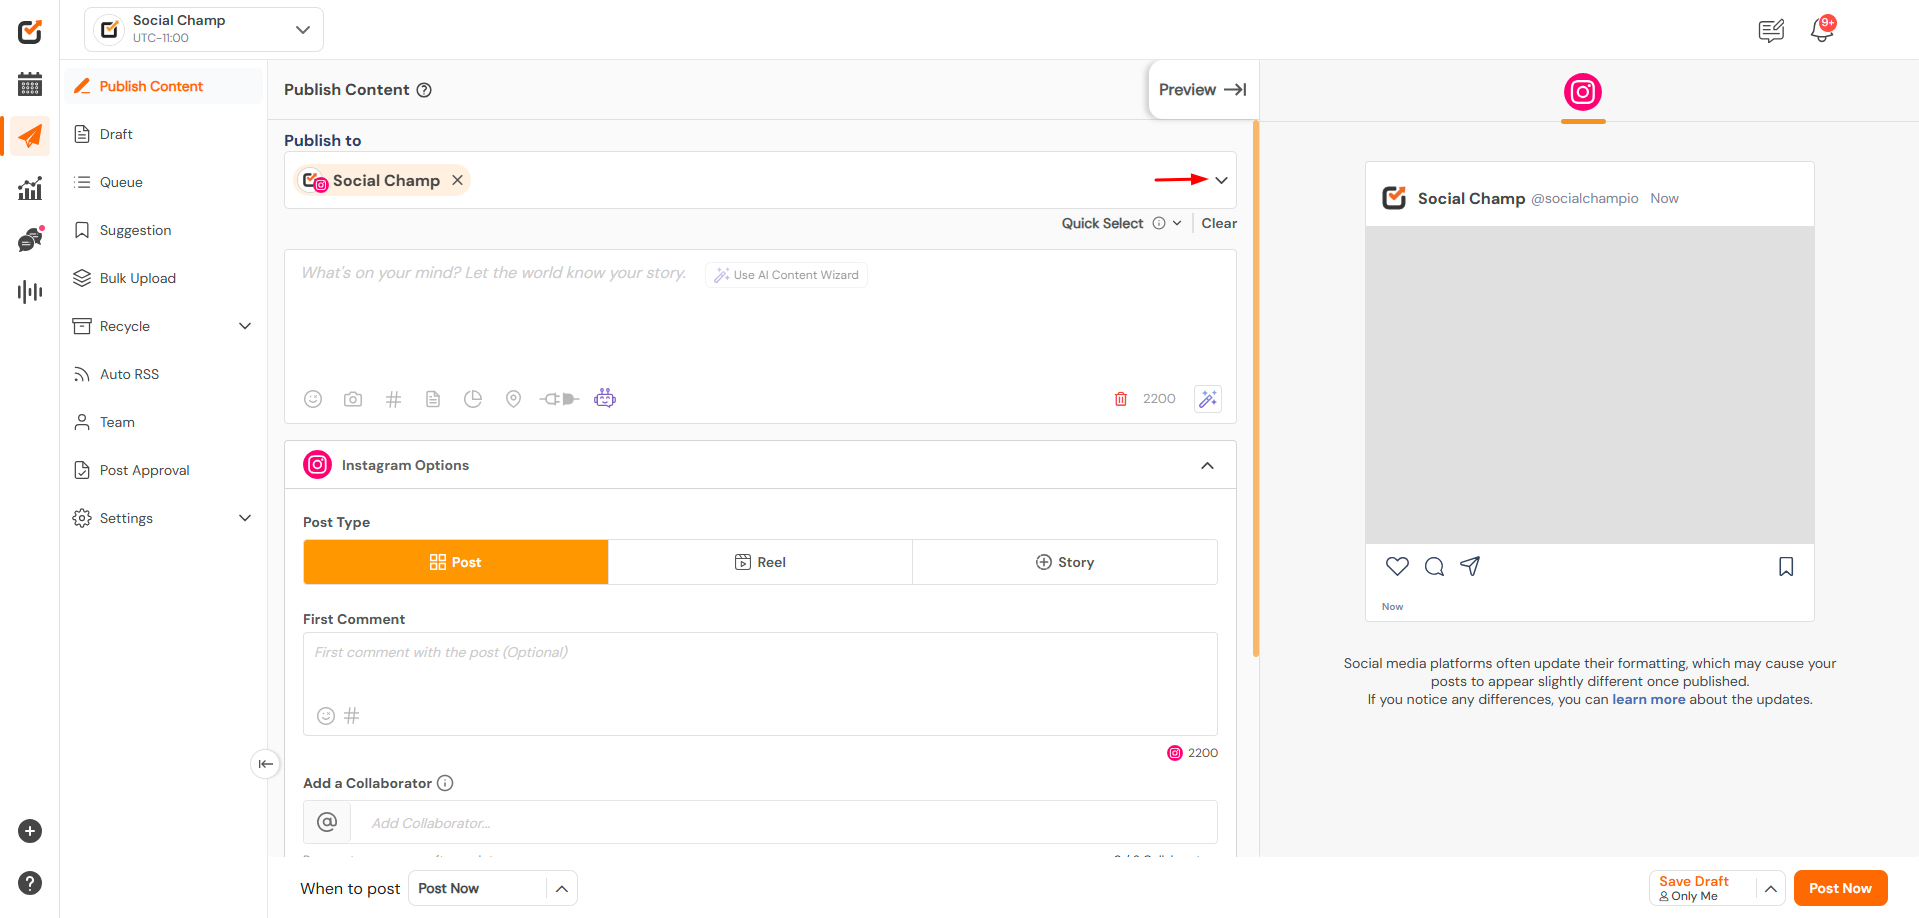
1. Log in to Your Social Champ Account
- Once logged in, you’ll be directed to the Content Dashboard by default.
- Select the accounts you want to post from using the dropdown menu at the top.
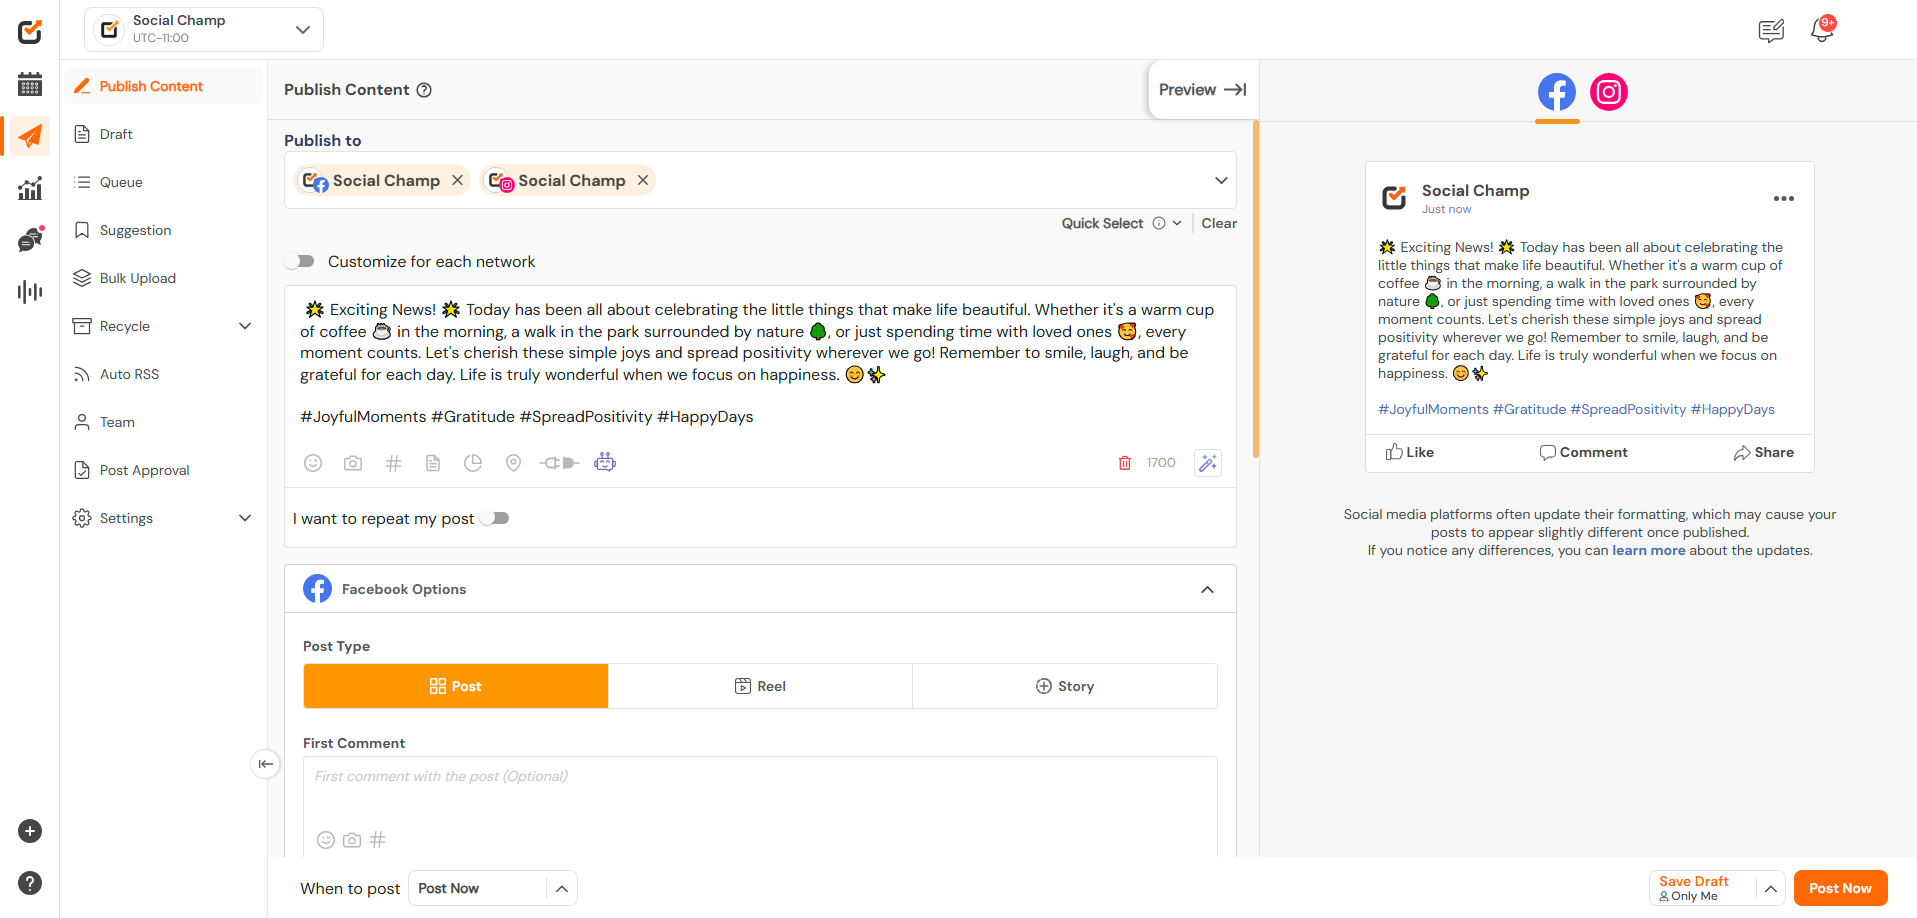
2. Create Your Content
- Draft your post in the text editor.
- Enhance your post with emojis, hashtags, or mentions to boost engagement.
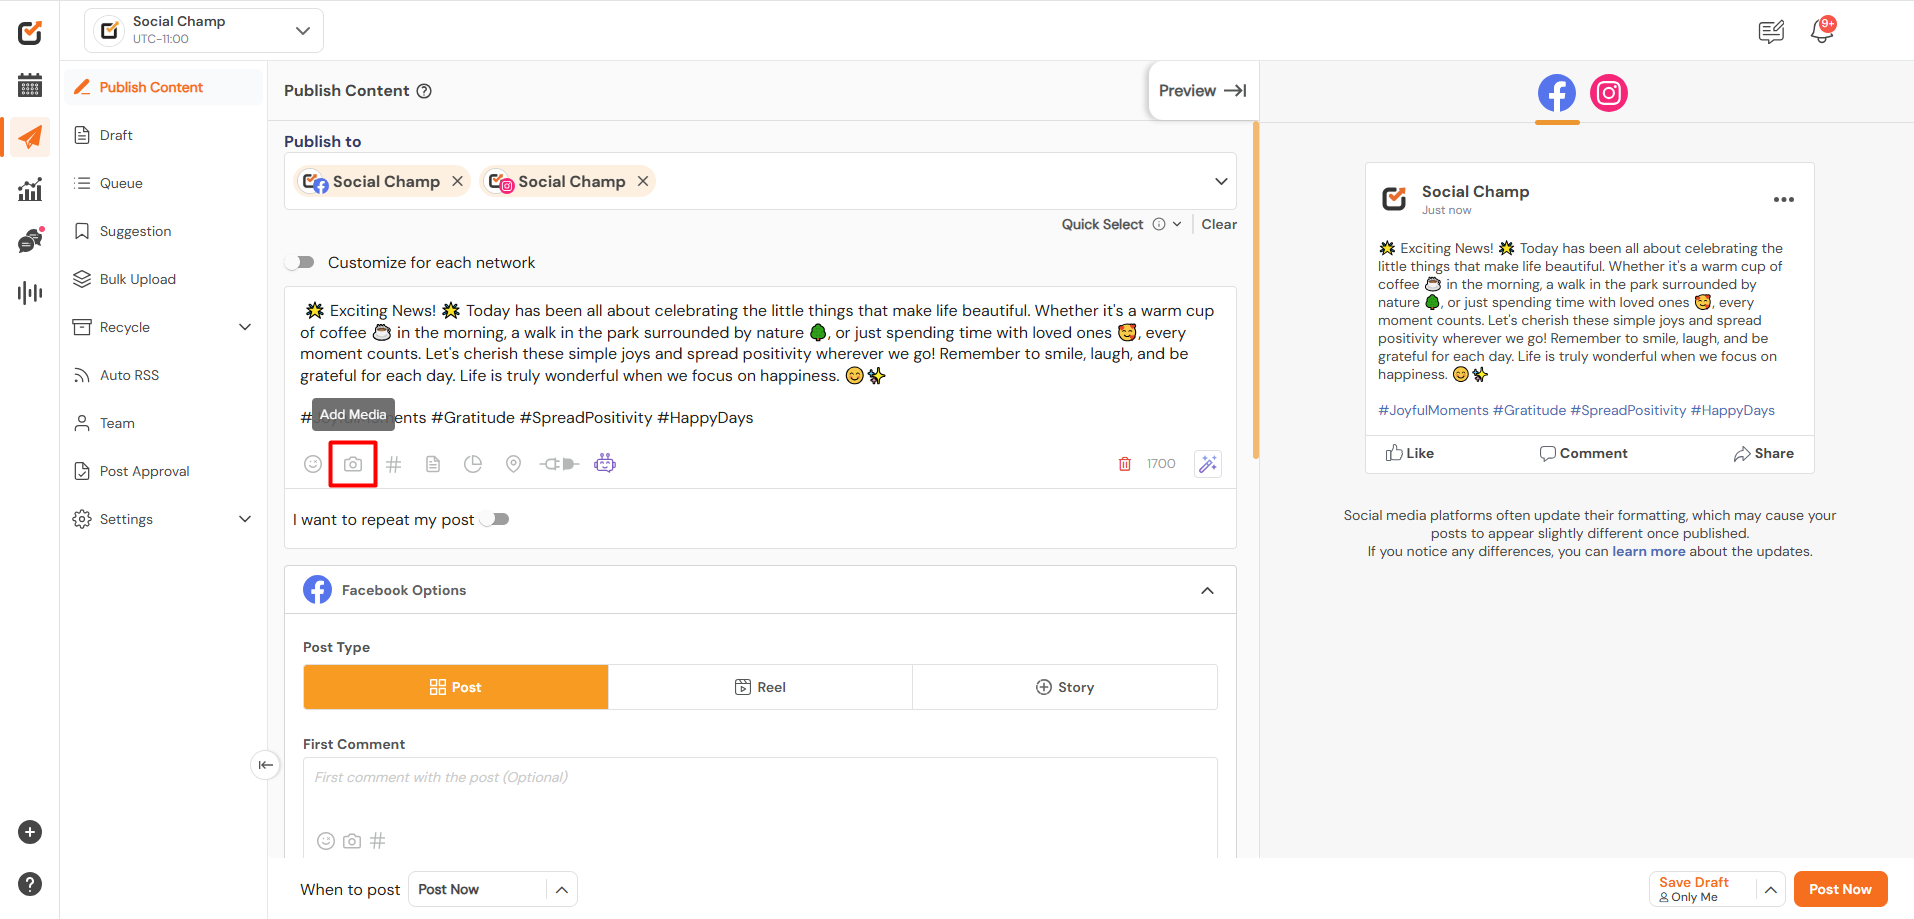
3. Add Media
- Click the ‘Add Media’ button to include images, videos, or GIFs.
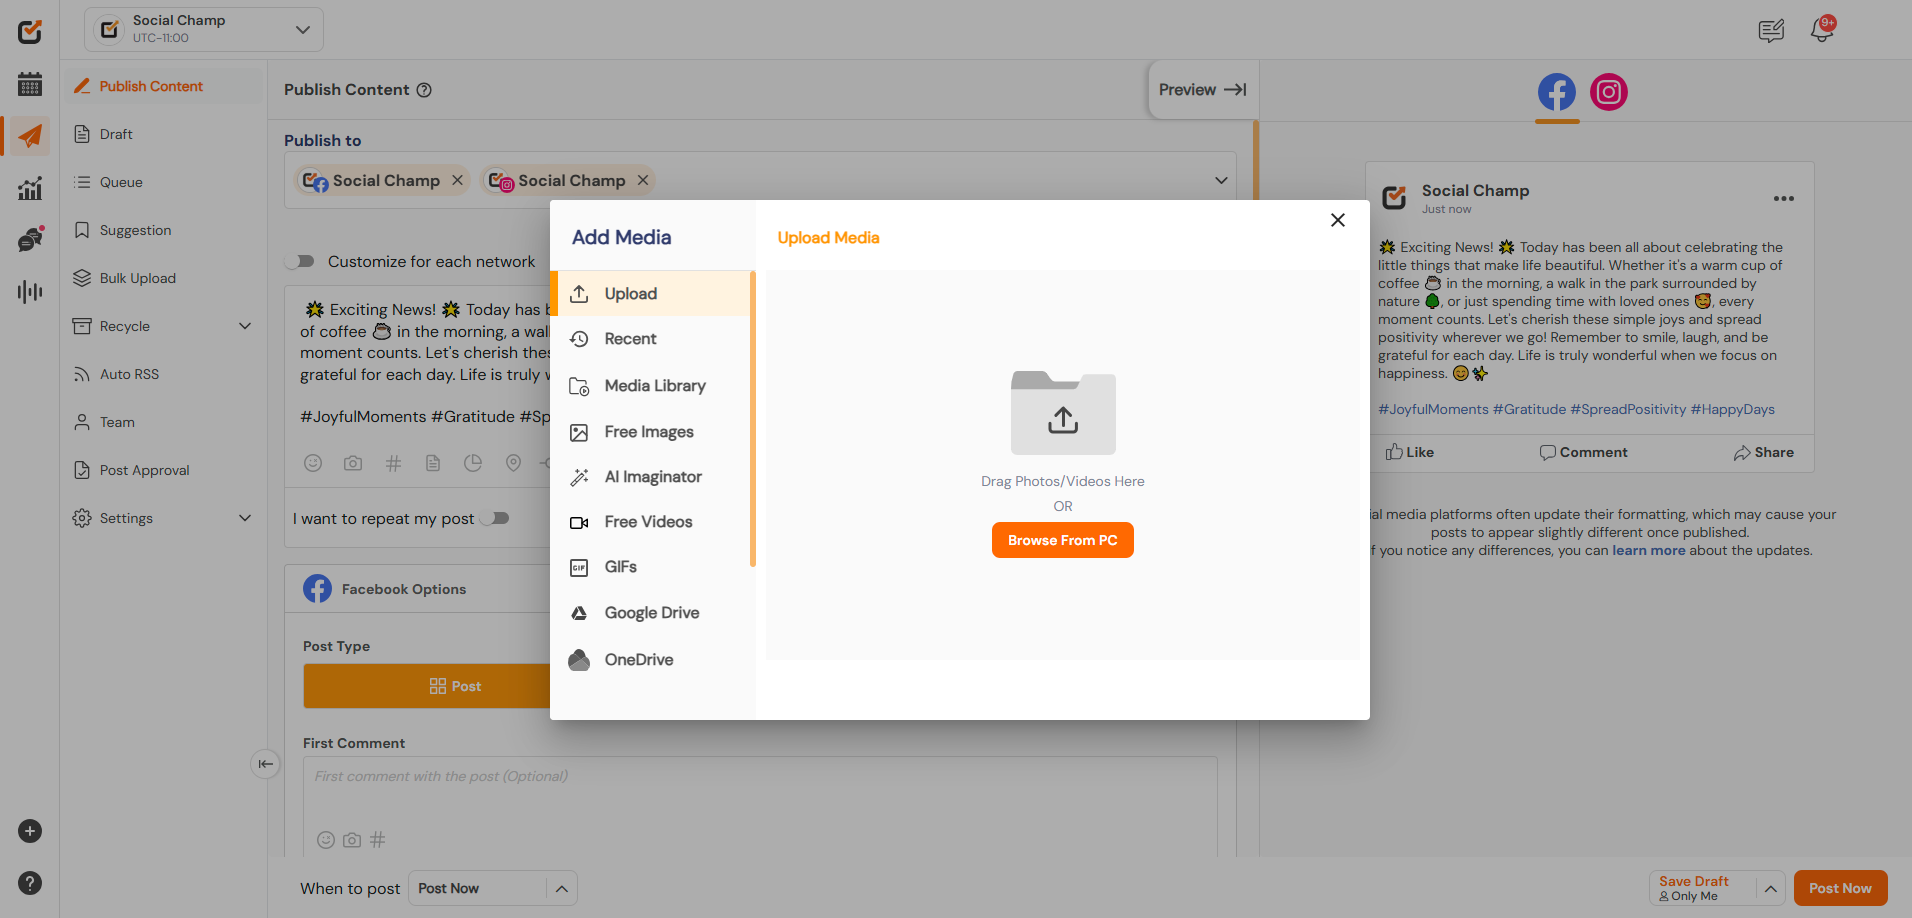
4. Upload Media
- A pop-up window will appear.
- Drag and drop your files, or
- Click ‘Browse from PC’ to upload media from your device.
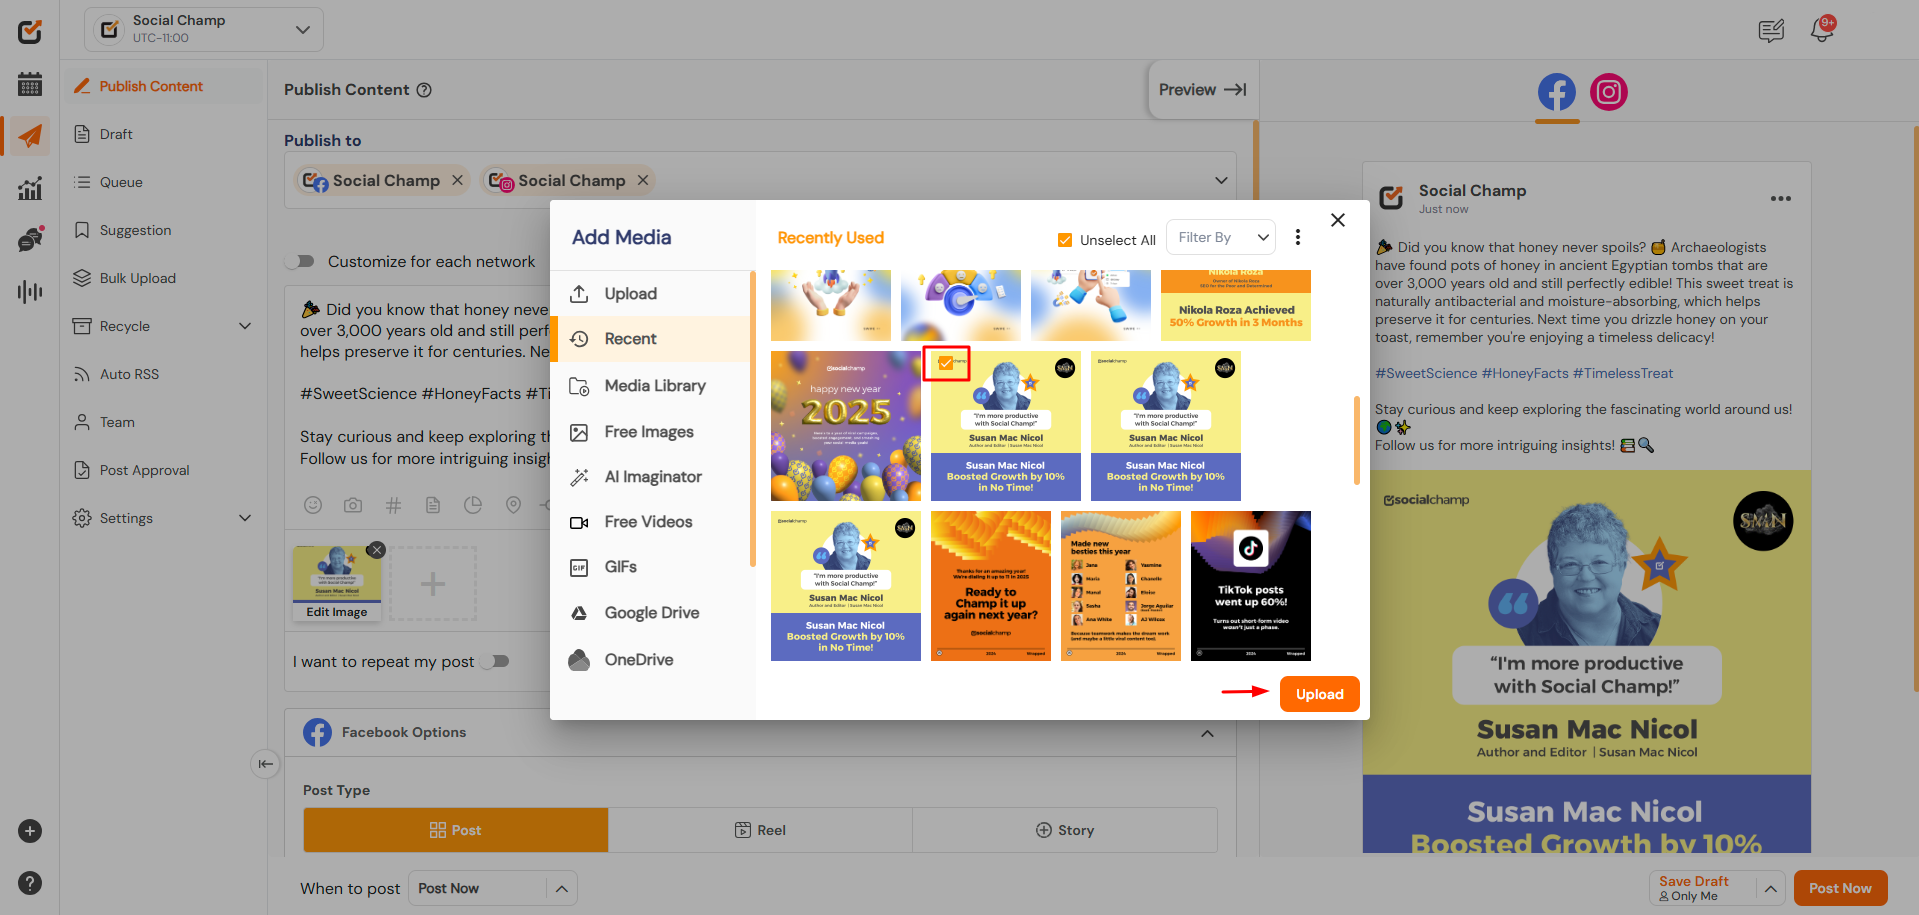
5. Access Recently Used Media
- Switch to the ‘Recent’ tab to view your previously used media.
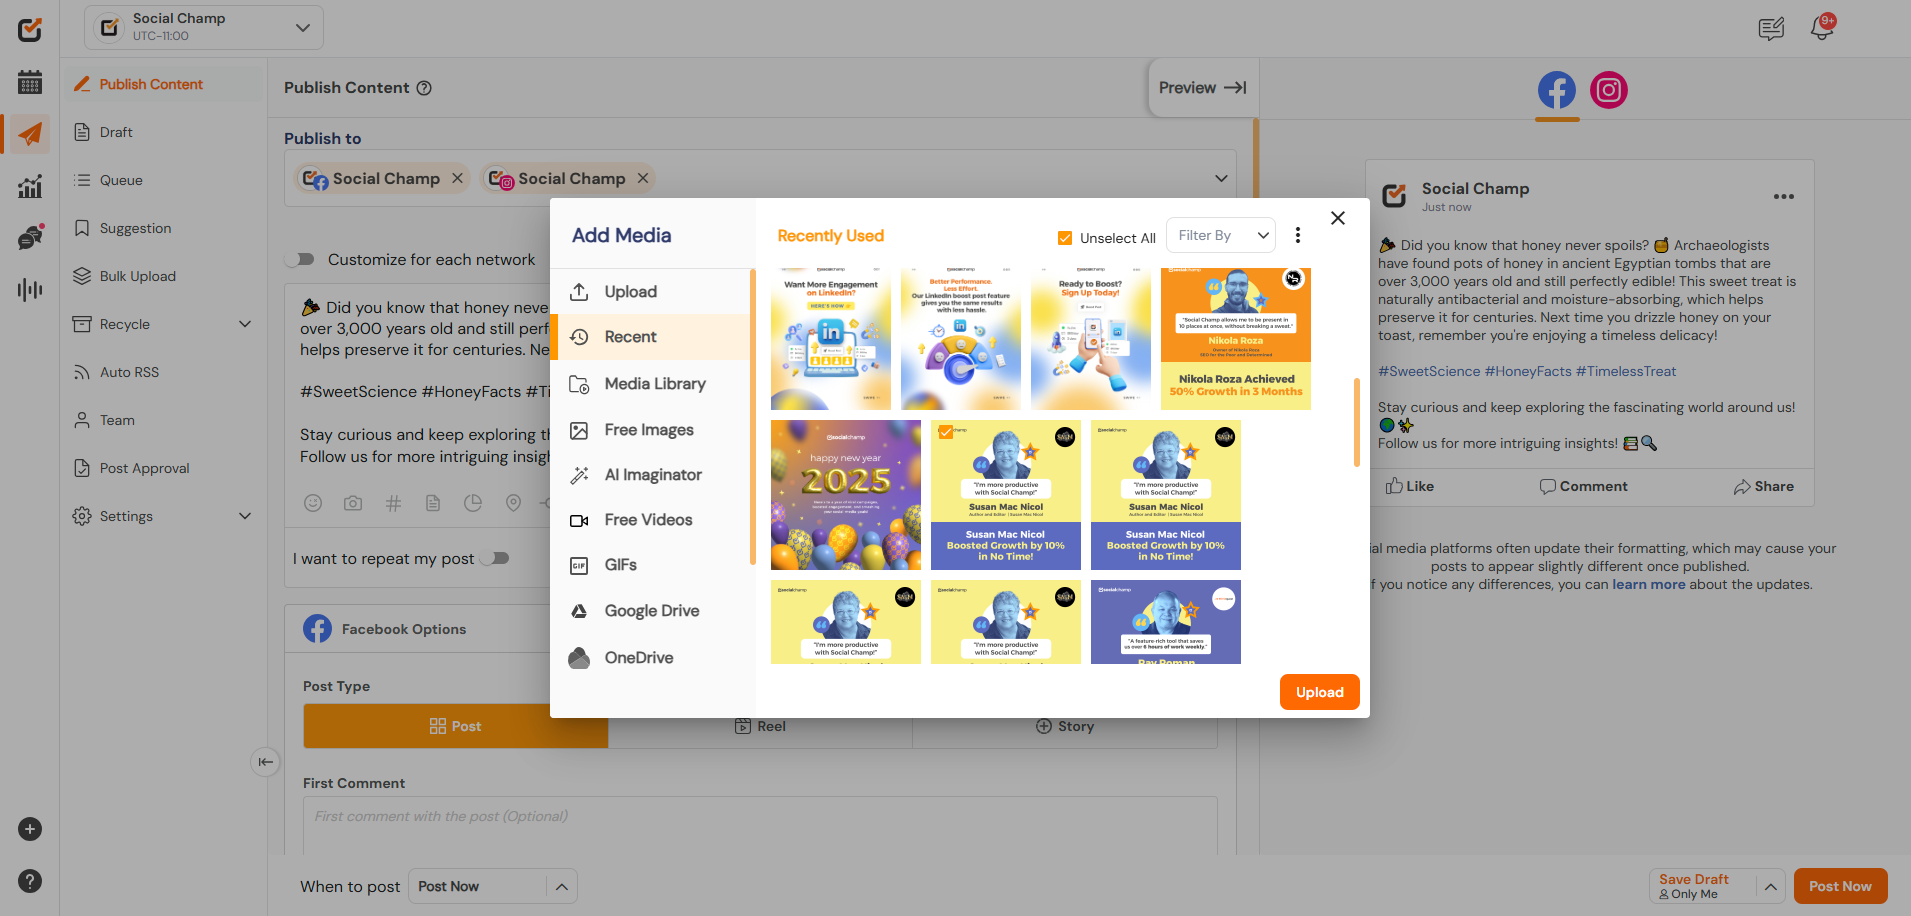
- To reuse an item, hover over it and tick the checkbox in the top-left corner.

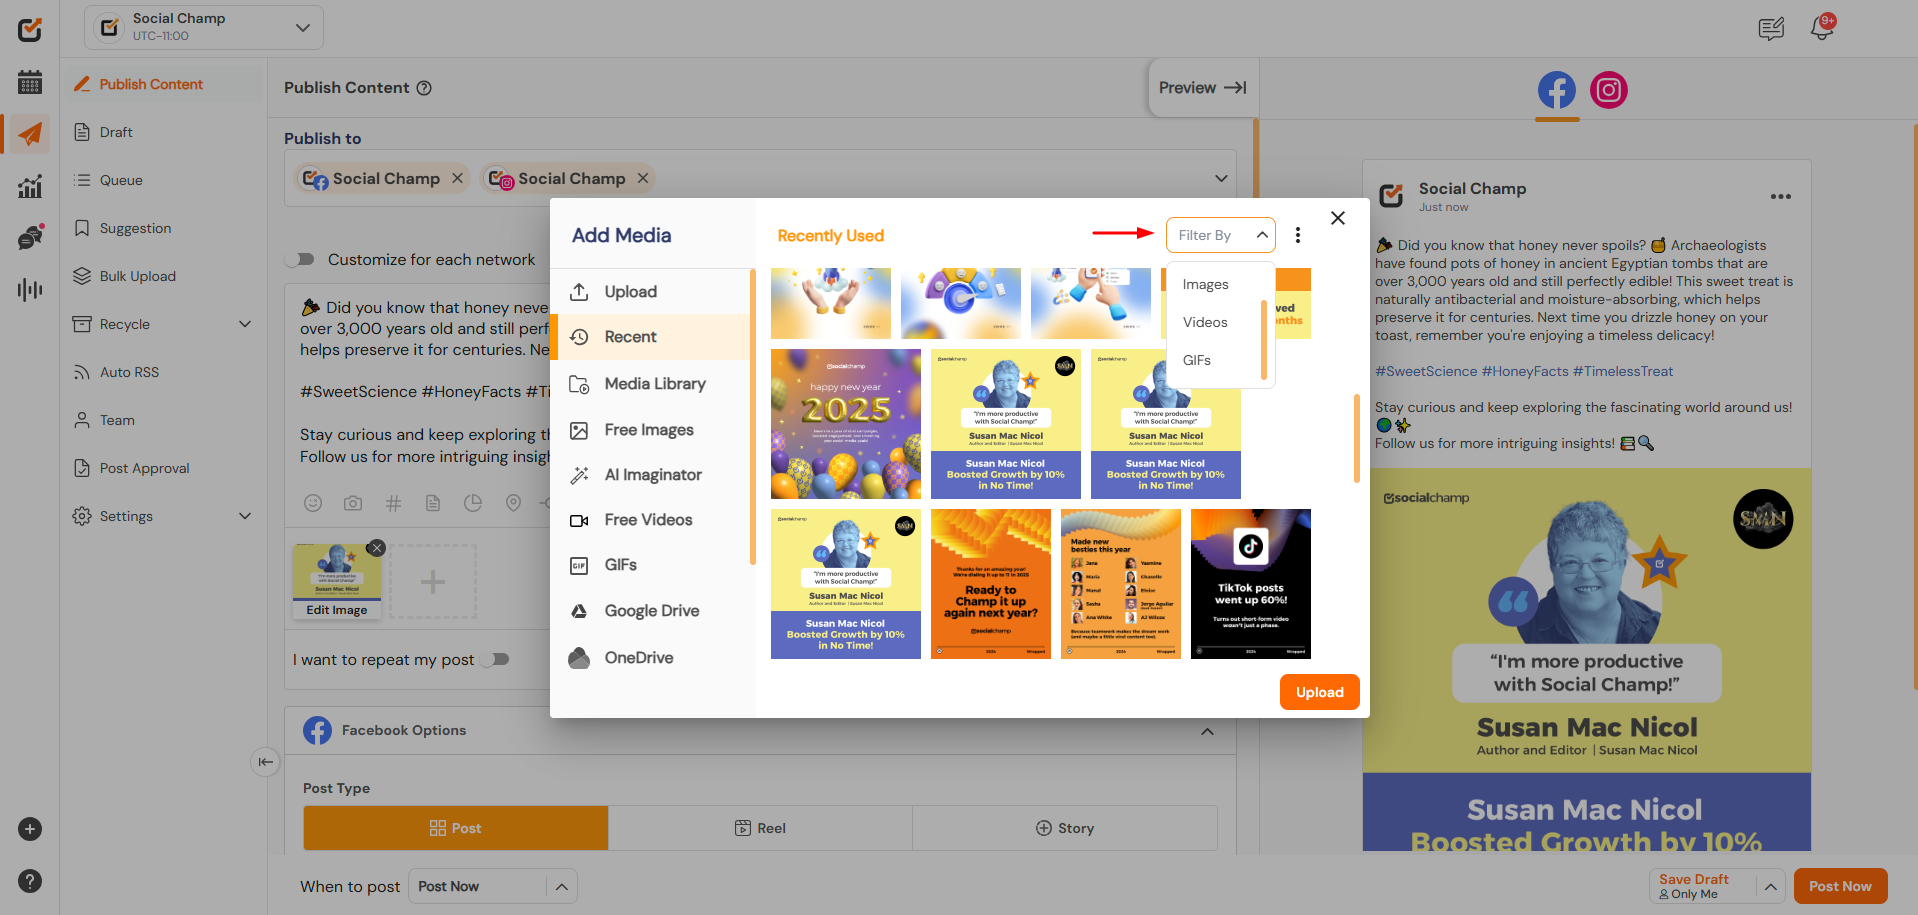
6. Filter Media Types
- Use the dropdown in the top-right corner to filter by Images, Videos, or GIFs for better organization.
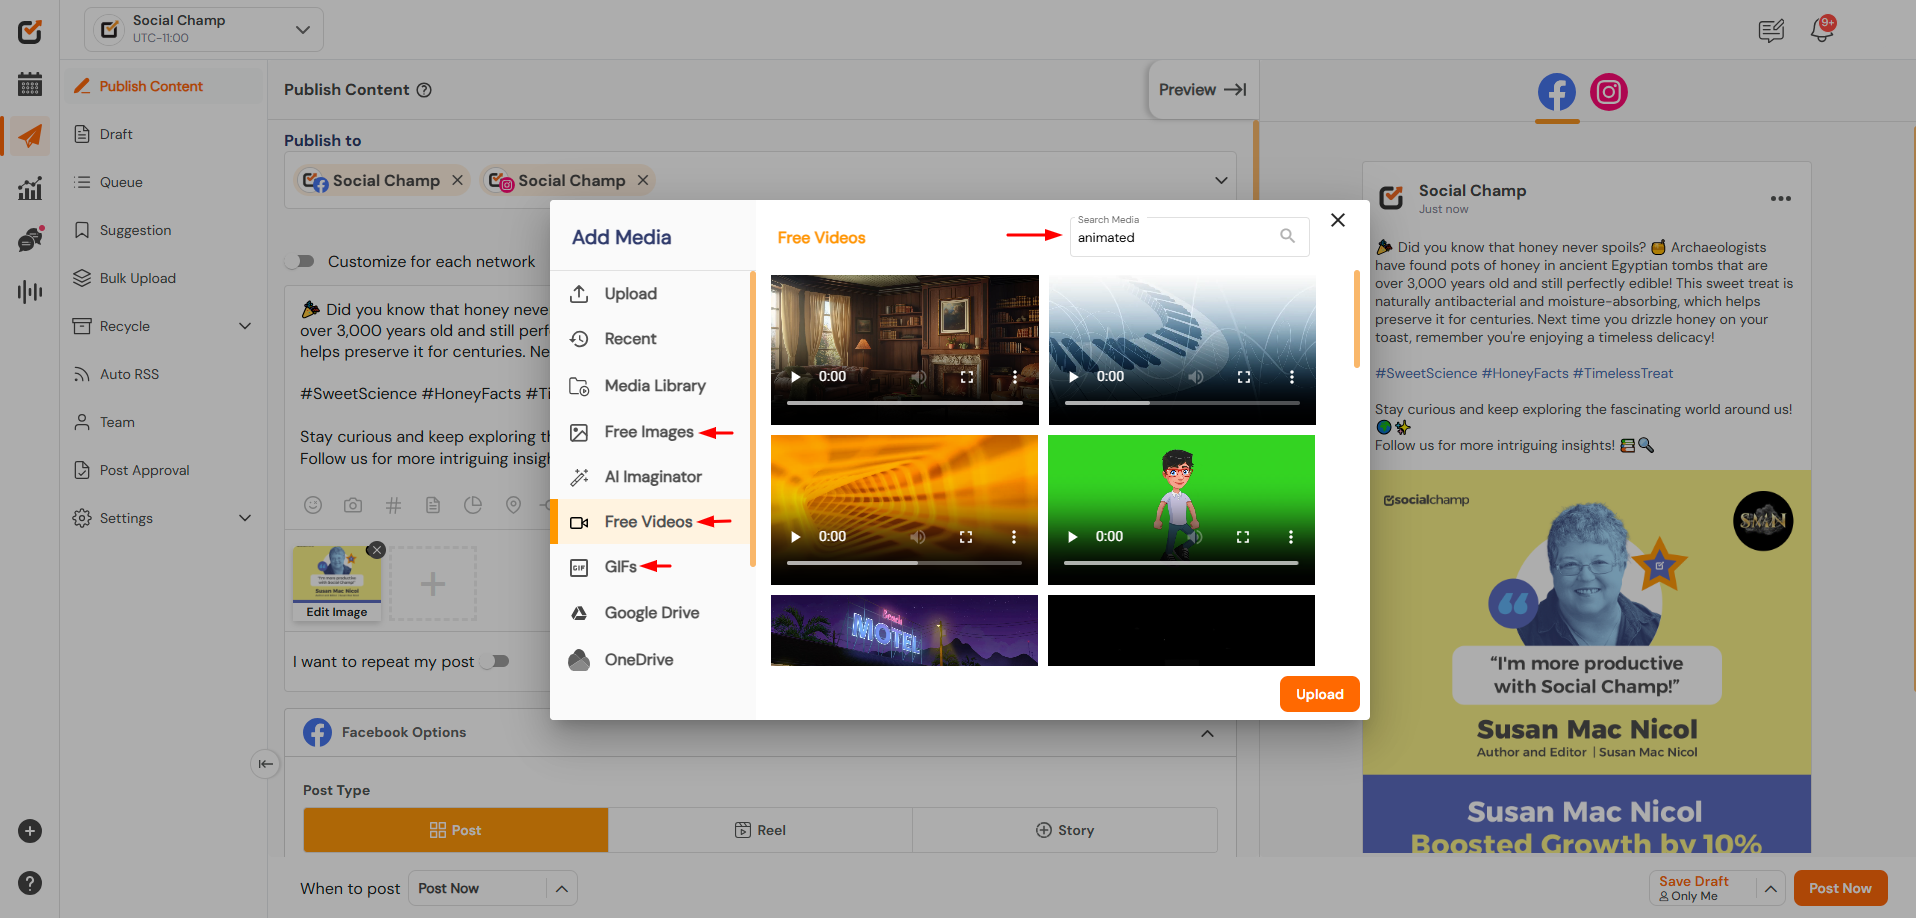
7. Explore Free Media Libraries
- Access free Images, Videos, and GIFs directly from the Free Media tab.
- Use the search bar to find content that matches your needs.
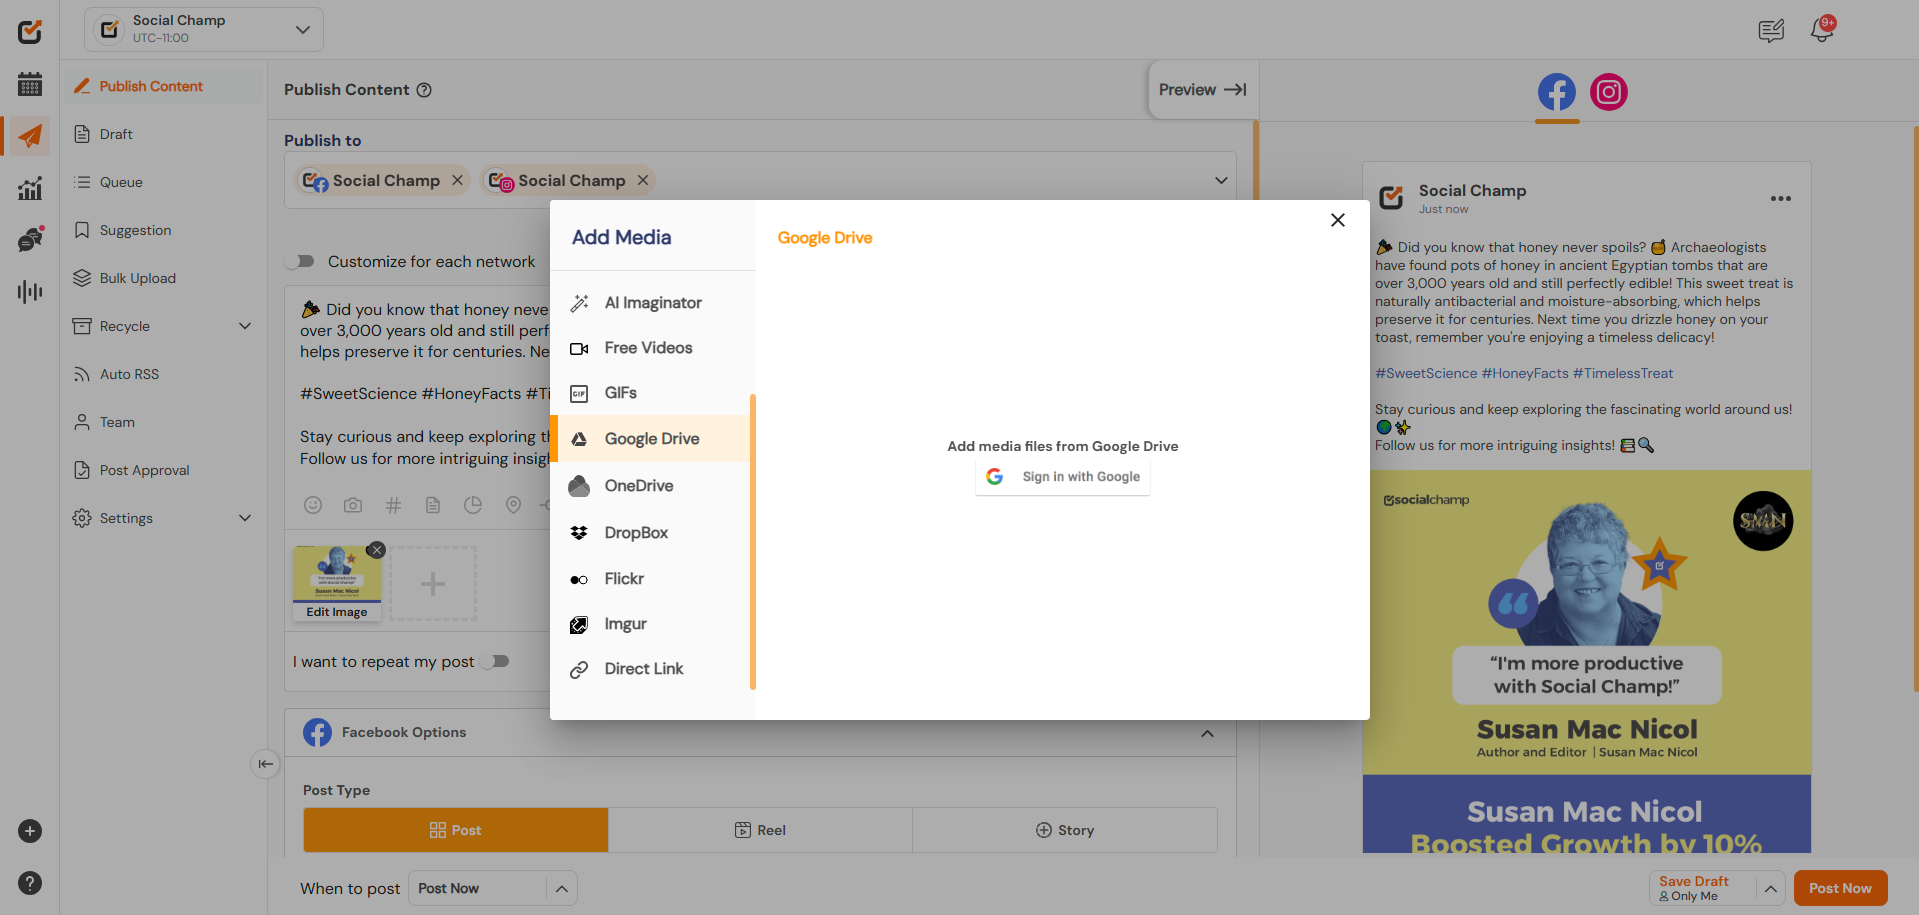
8. Fetch Media from Cloud Storage
- Import media directly from your Google Drive or Dropbox accounts for quick access.
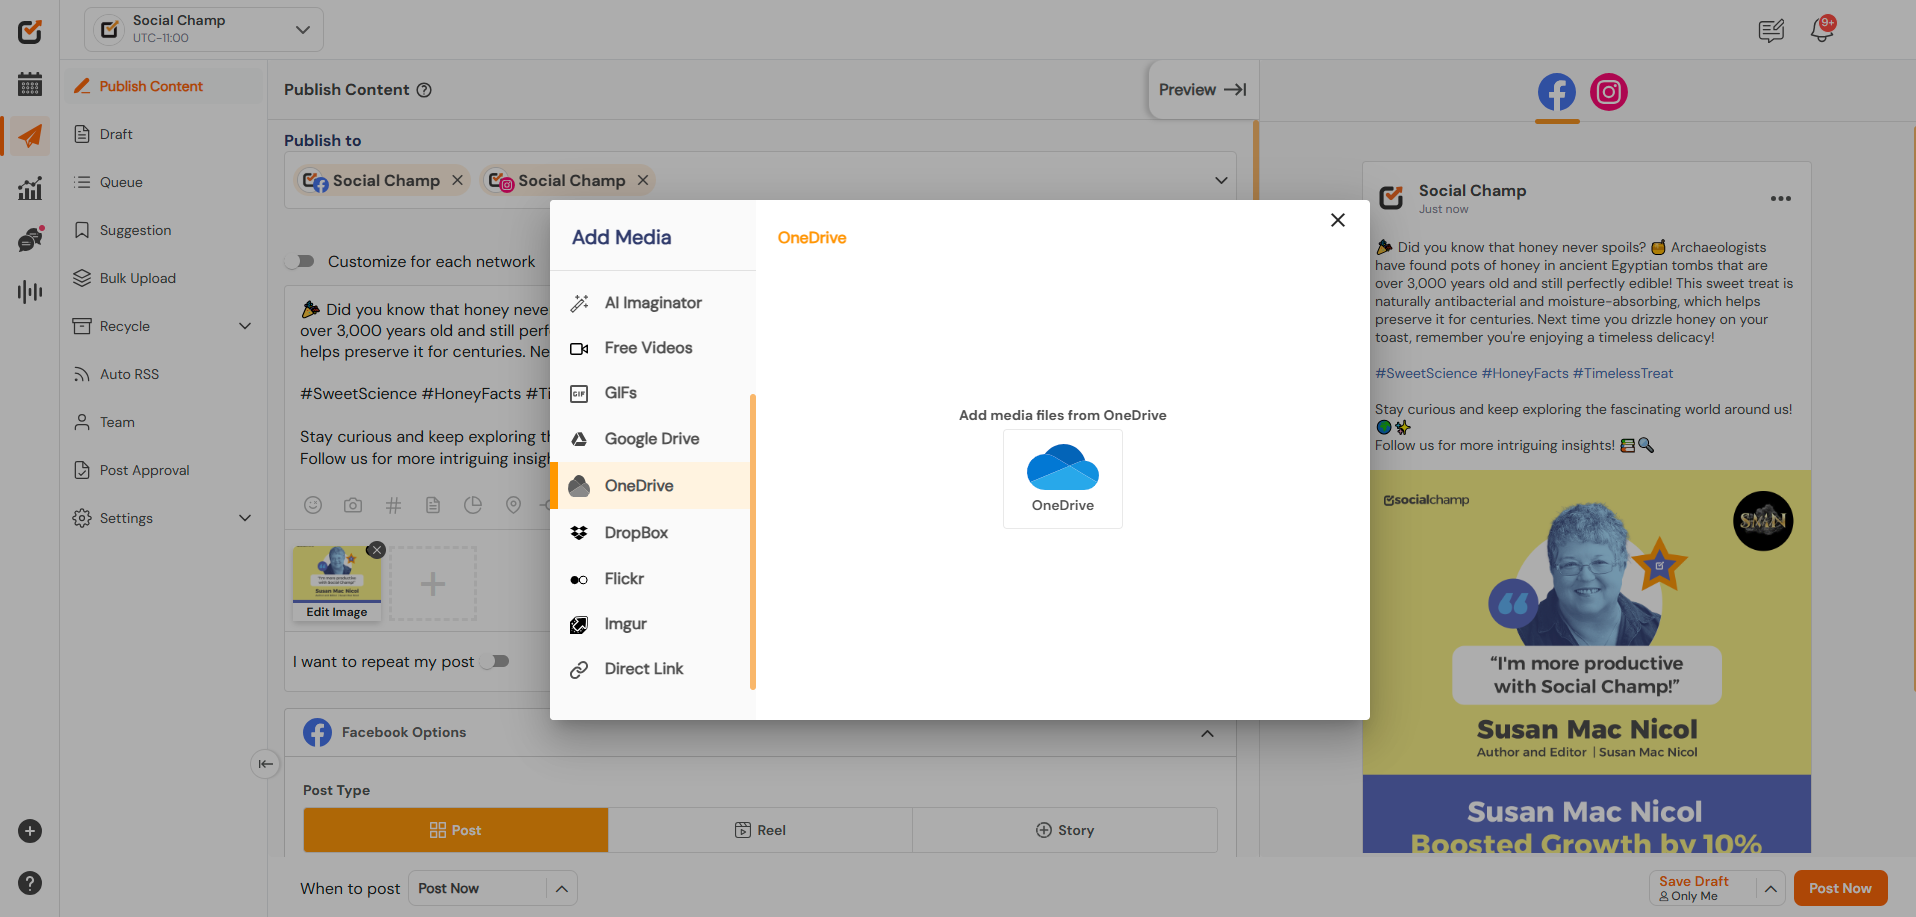
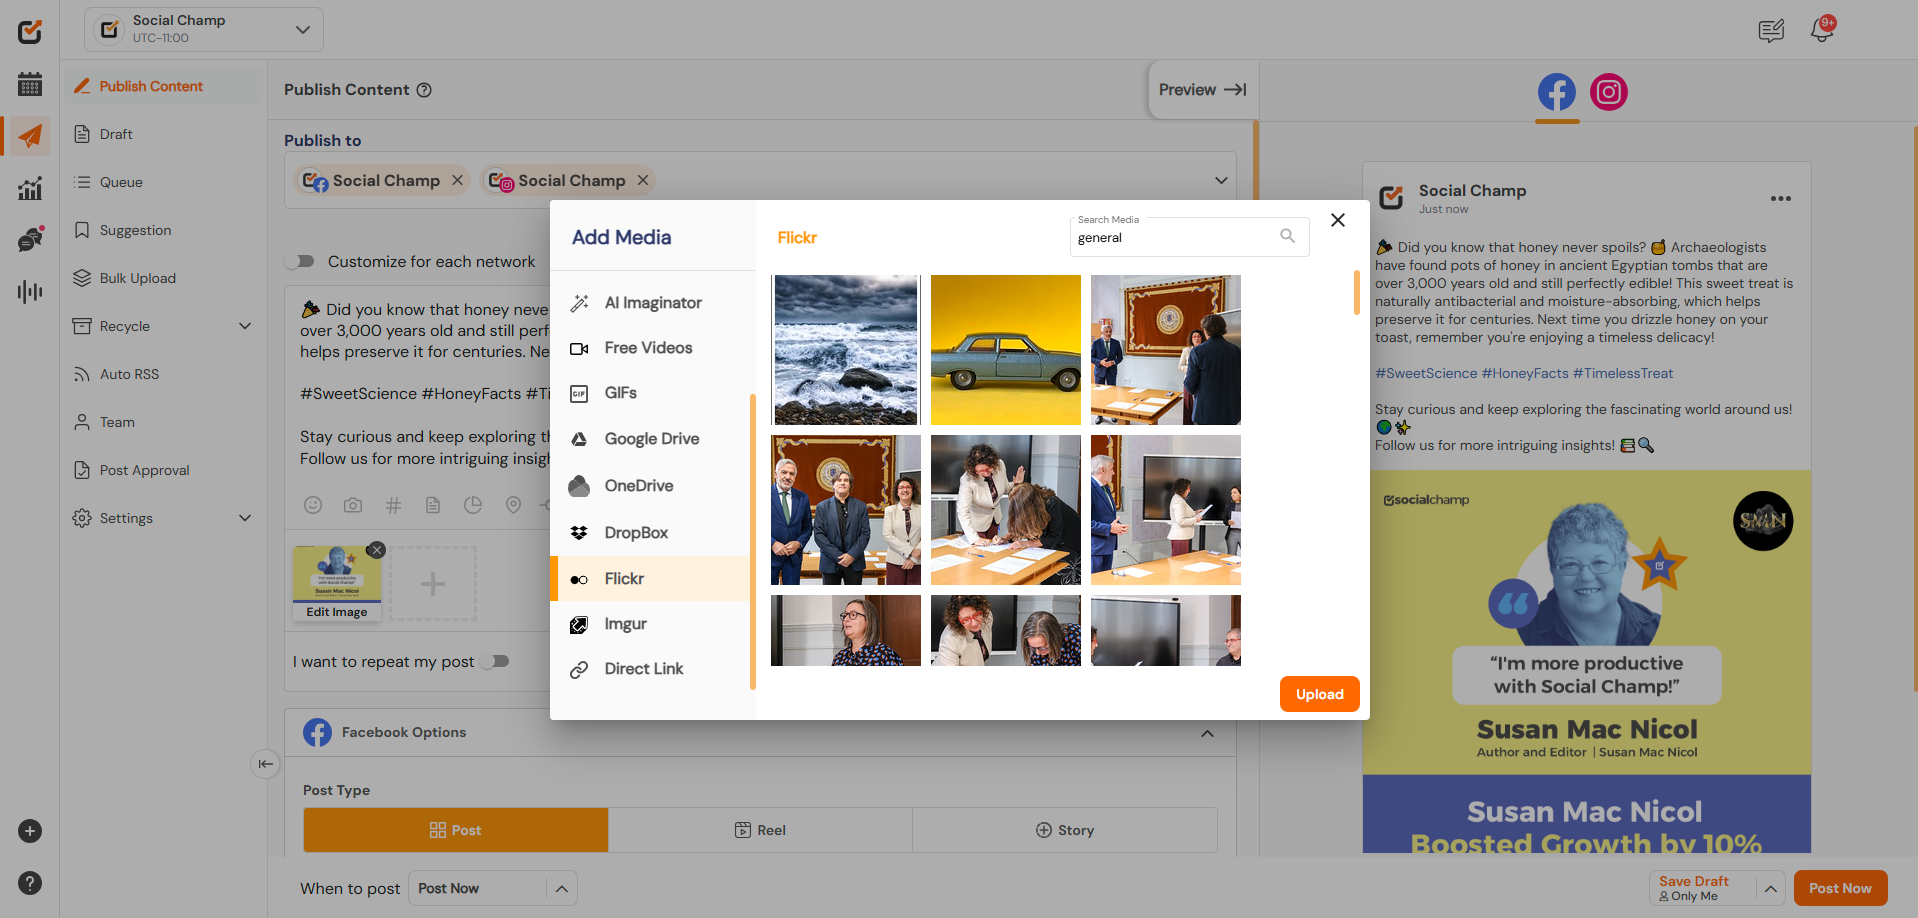
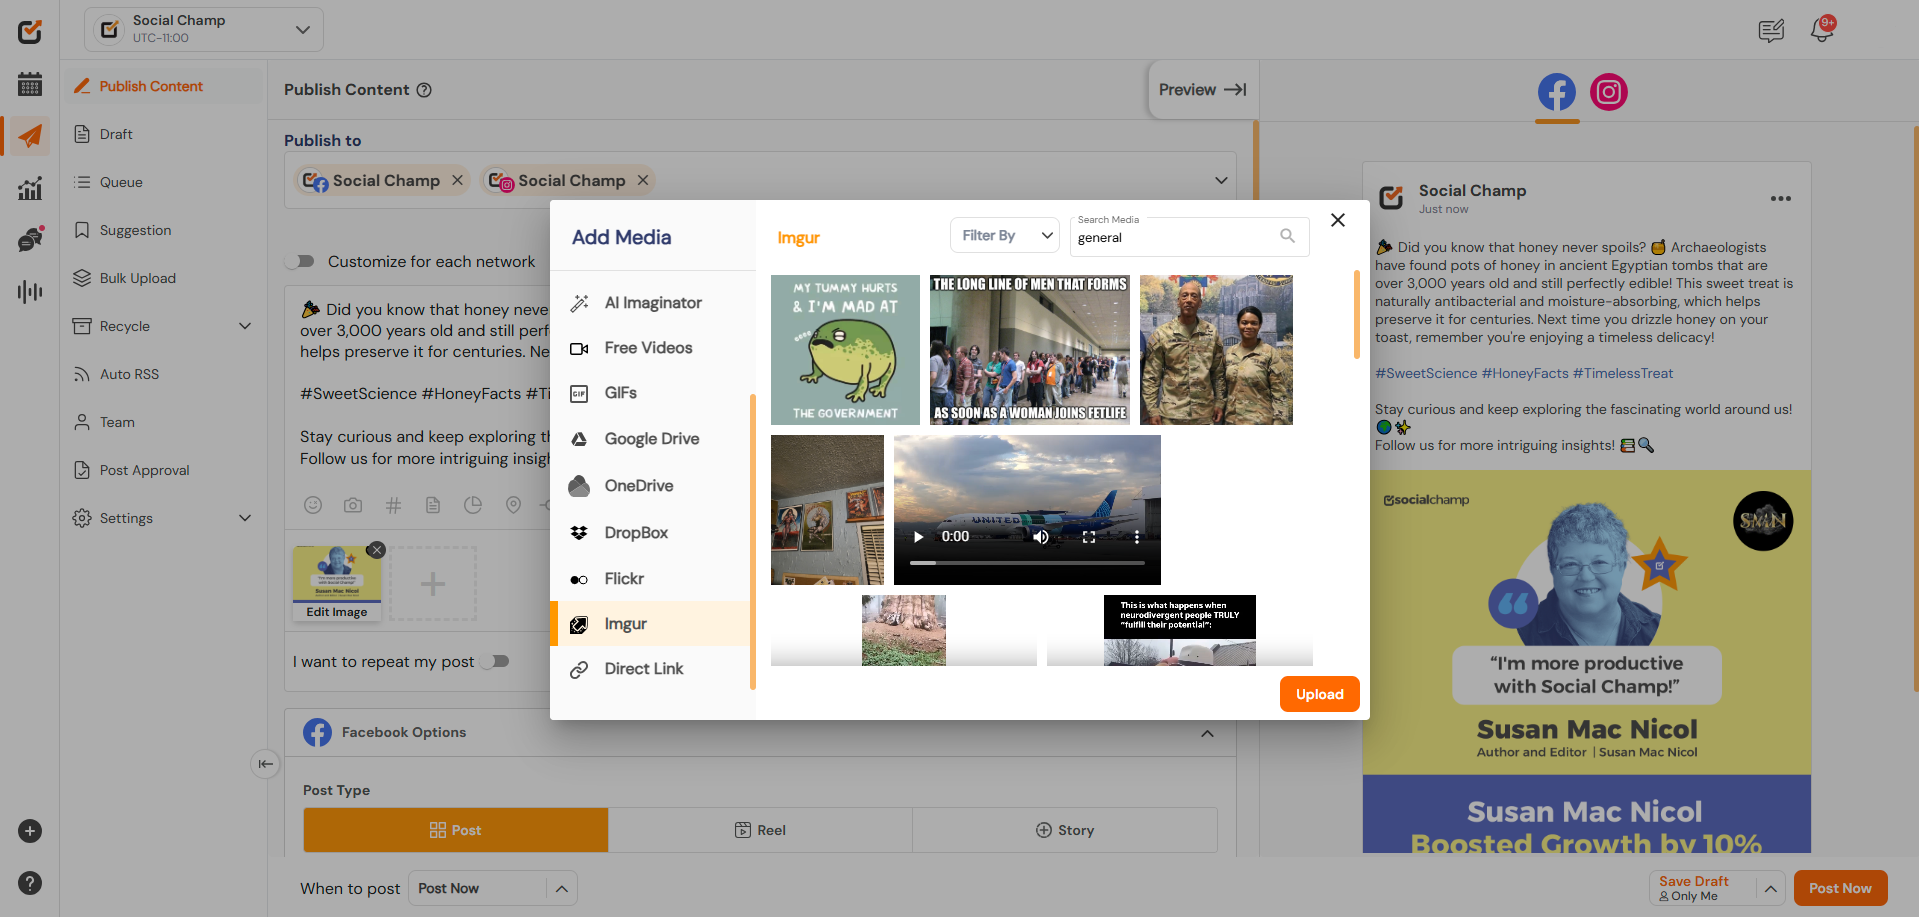
9. Use Flickr and Imgur Libraries
- Expand your options by browsing content from Flickr and Imgur.
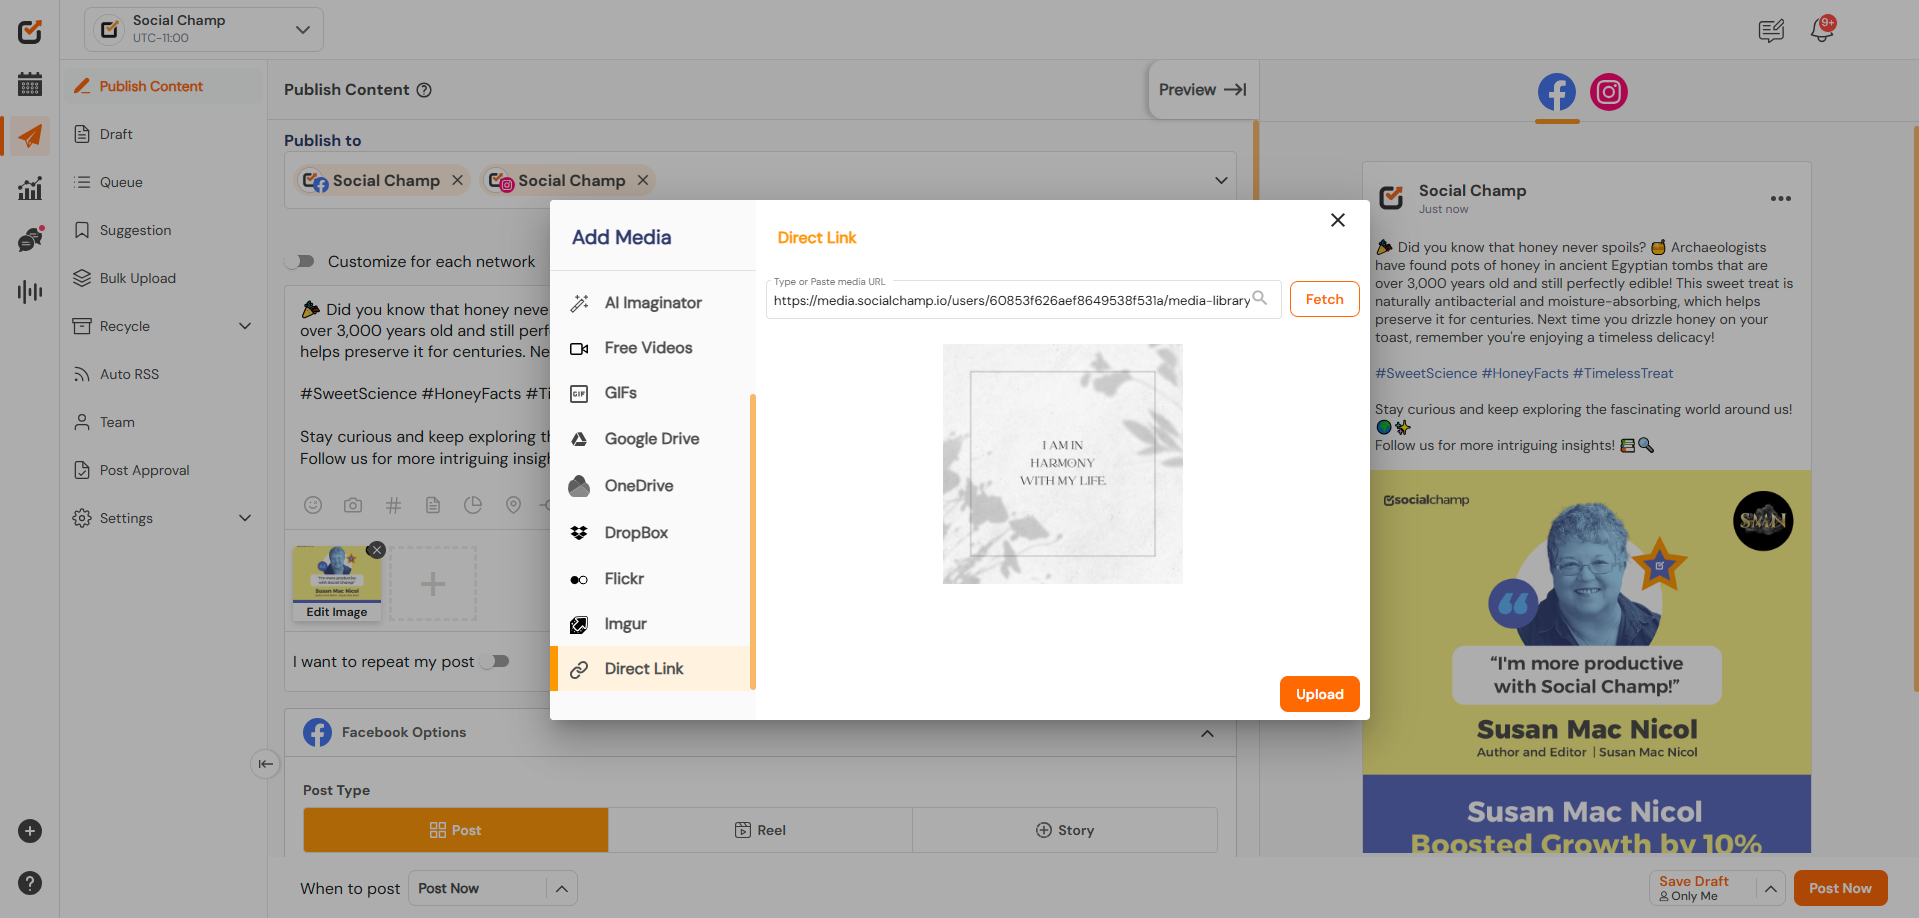
10. Add Media via Direct Link
- Paste a public URL in the ‘Direct Link’ option to fetch media instantly.
11. Upload Your Media
- Once you’ve selected your media, click the ‘Upload’ button.
- Wait a few seconds for the upload to complete.
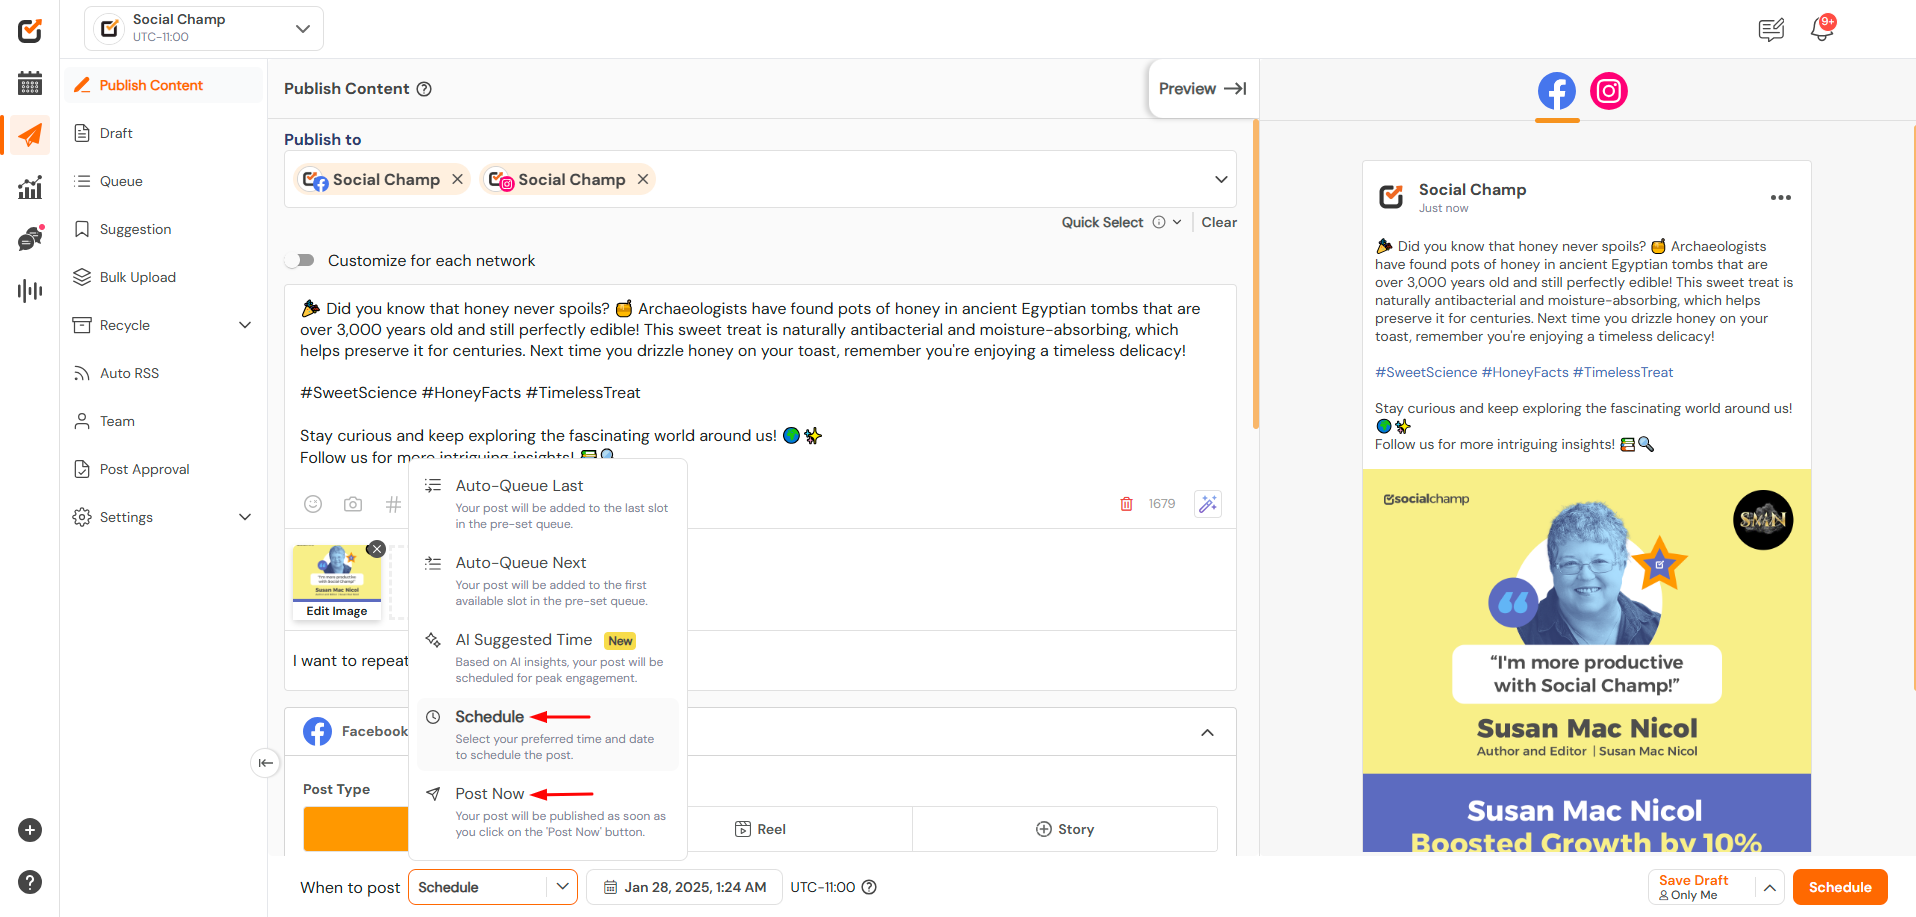
12. Schedule or Post
- Double-check your content, and when you’re ready:
- Click ‘Post Now’ to publish immediately, or
- Click ‘Schedule’ to choose a date and time for your post.
Bonus Tip
Check out this guide on Recommended Sizes for Publishing Media to ensure your posts look perfect across all platforms.
Happy Posting, Champs! 🚀
Hello Champs! Each social media platform has its own set of recommended formats and sizes for uploading media (images, videos, Read more
Feature Media Library is a recent addition to the existing set of integrations available at Social Champ. It can significantly Read more
Canva integration with Social Champ is indeed a powerful addition to the tool. You can now create, edit, and schedule Read more
Note: This guide is based on an earlier version of Social Champ. Some steps or features may have changed. Please Read more