Feature Media Library is a recent addition to the existing set of integrations available at Social Champ. It can significantly enhance your automation capabilities and streamline social media management tasks.
Media Library enables you to store the files within the platform and schedule them to different social media platforms.
To understand the entire setup, the flow, and how you can make the most of Media Library, let’s get started.
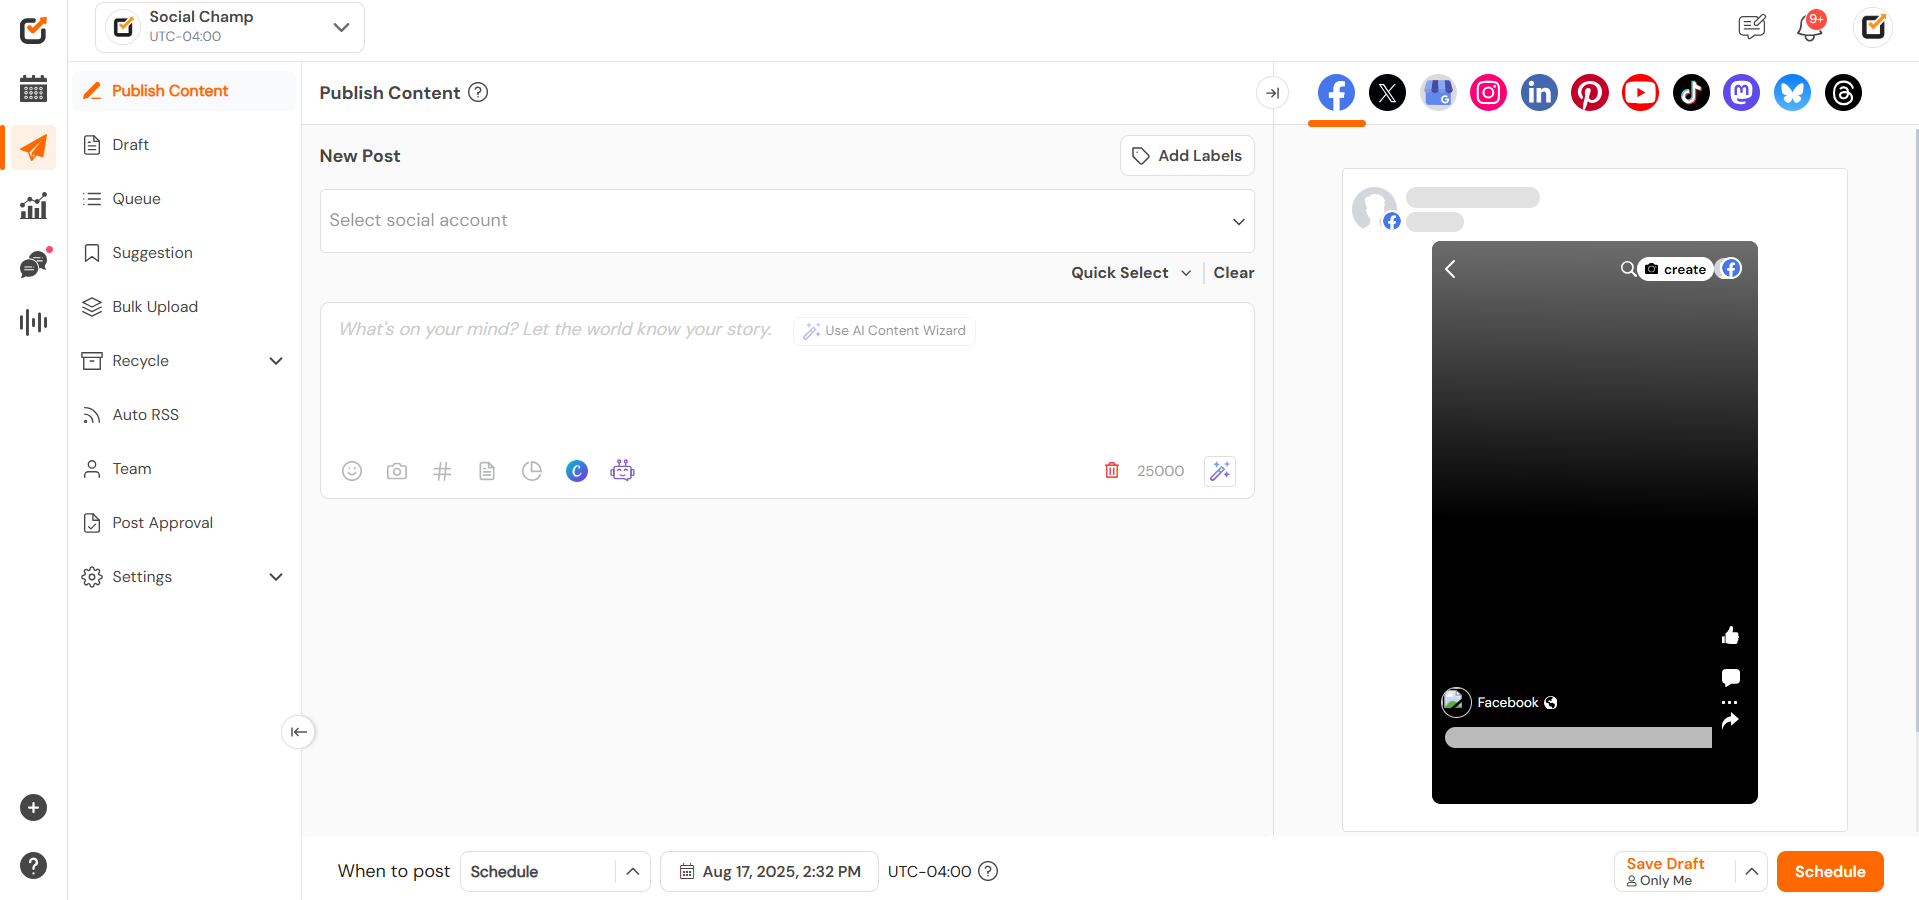
- After logging in to your Social Champ account, you will land on the Publish Content dashboard by default.
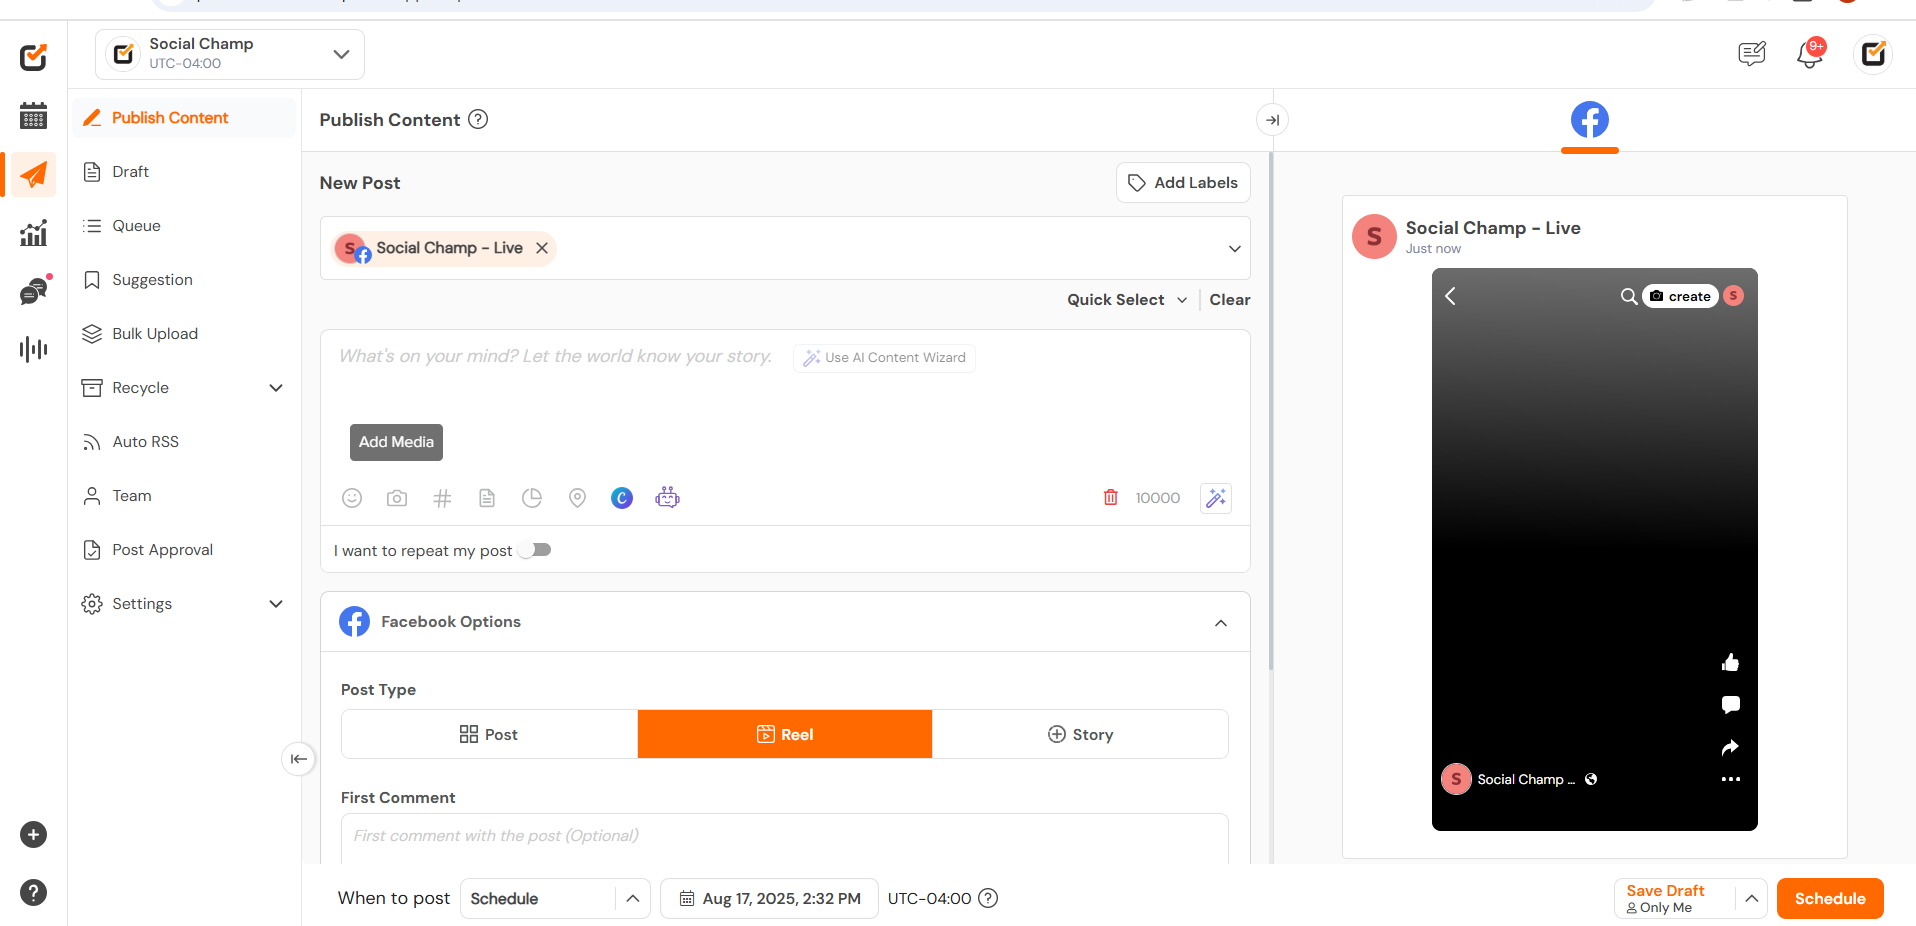
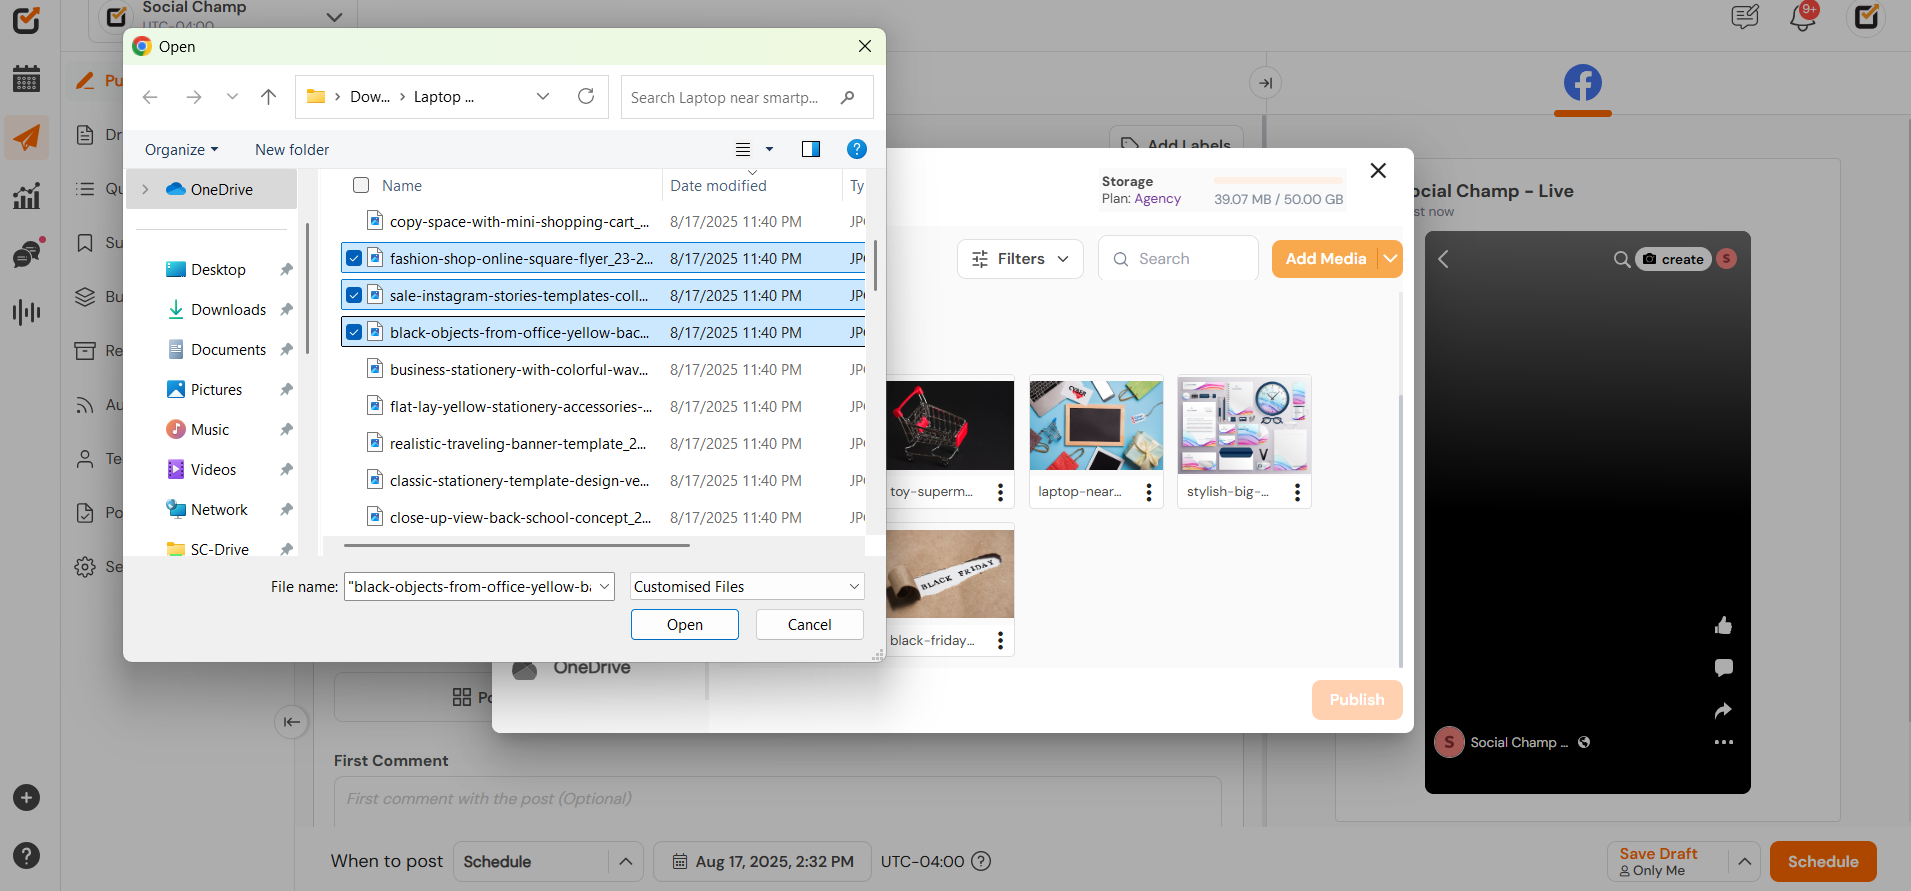
- Click the ”Add Media” button from the bottom of the content composer box. A pop-up window will show up.
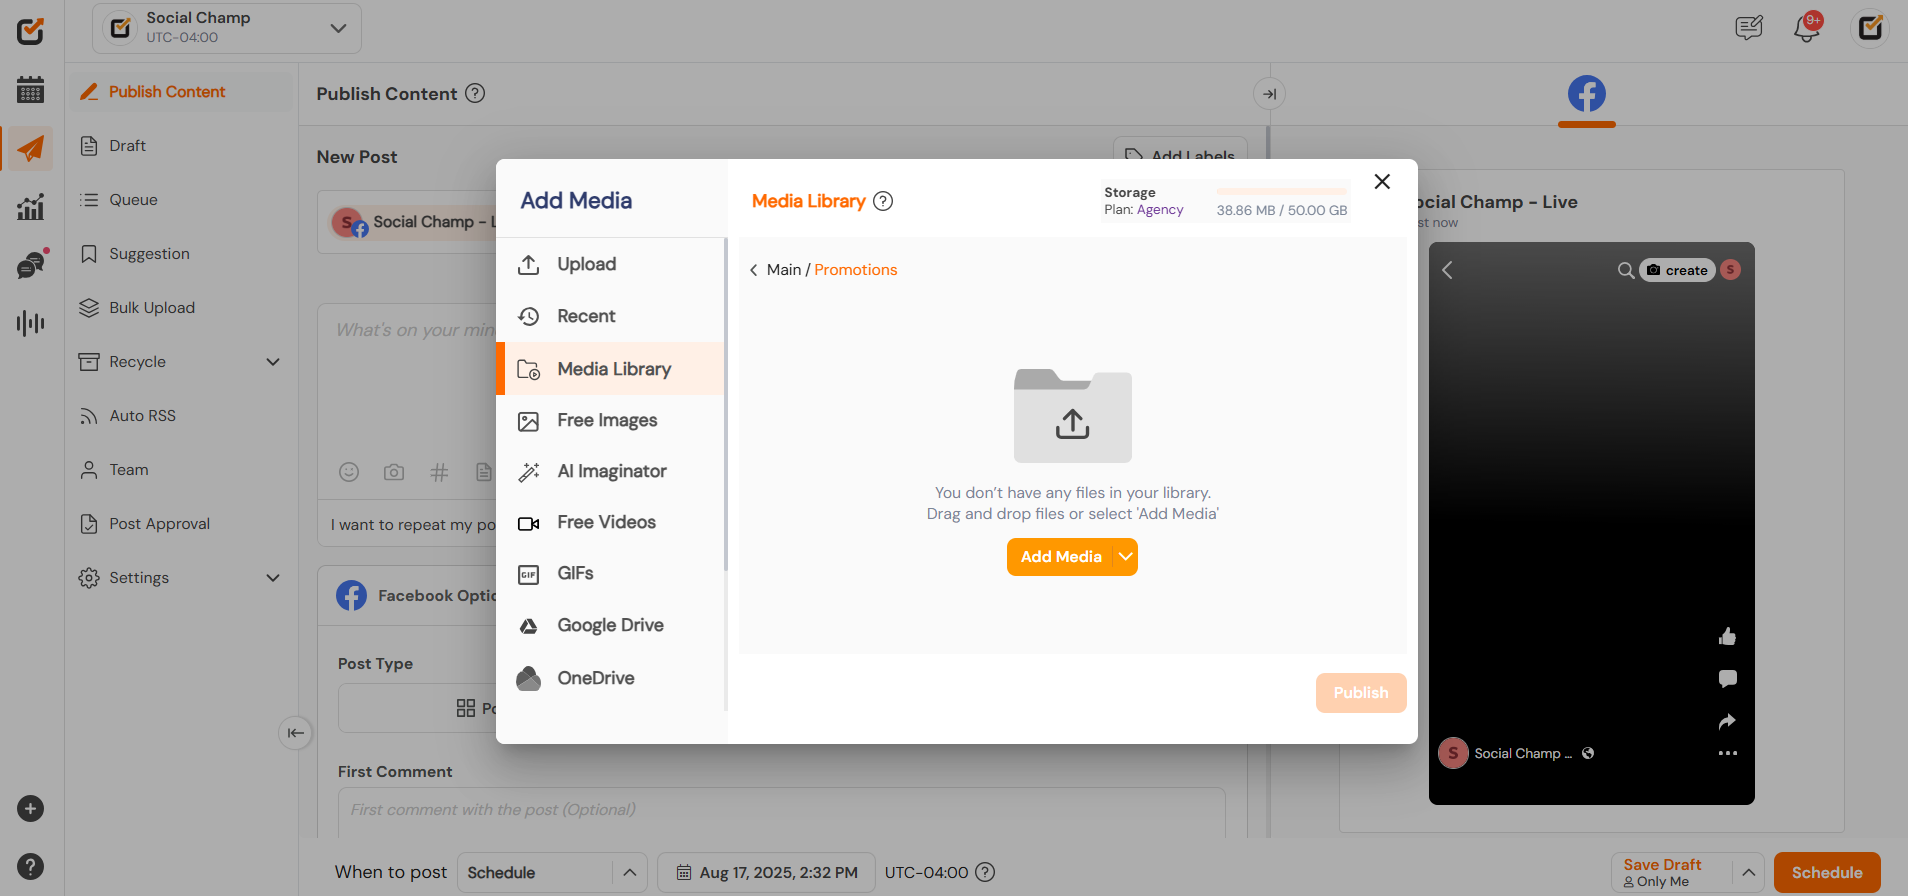
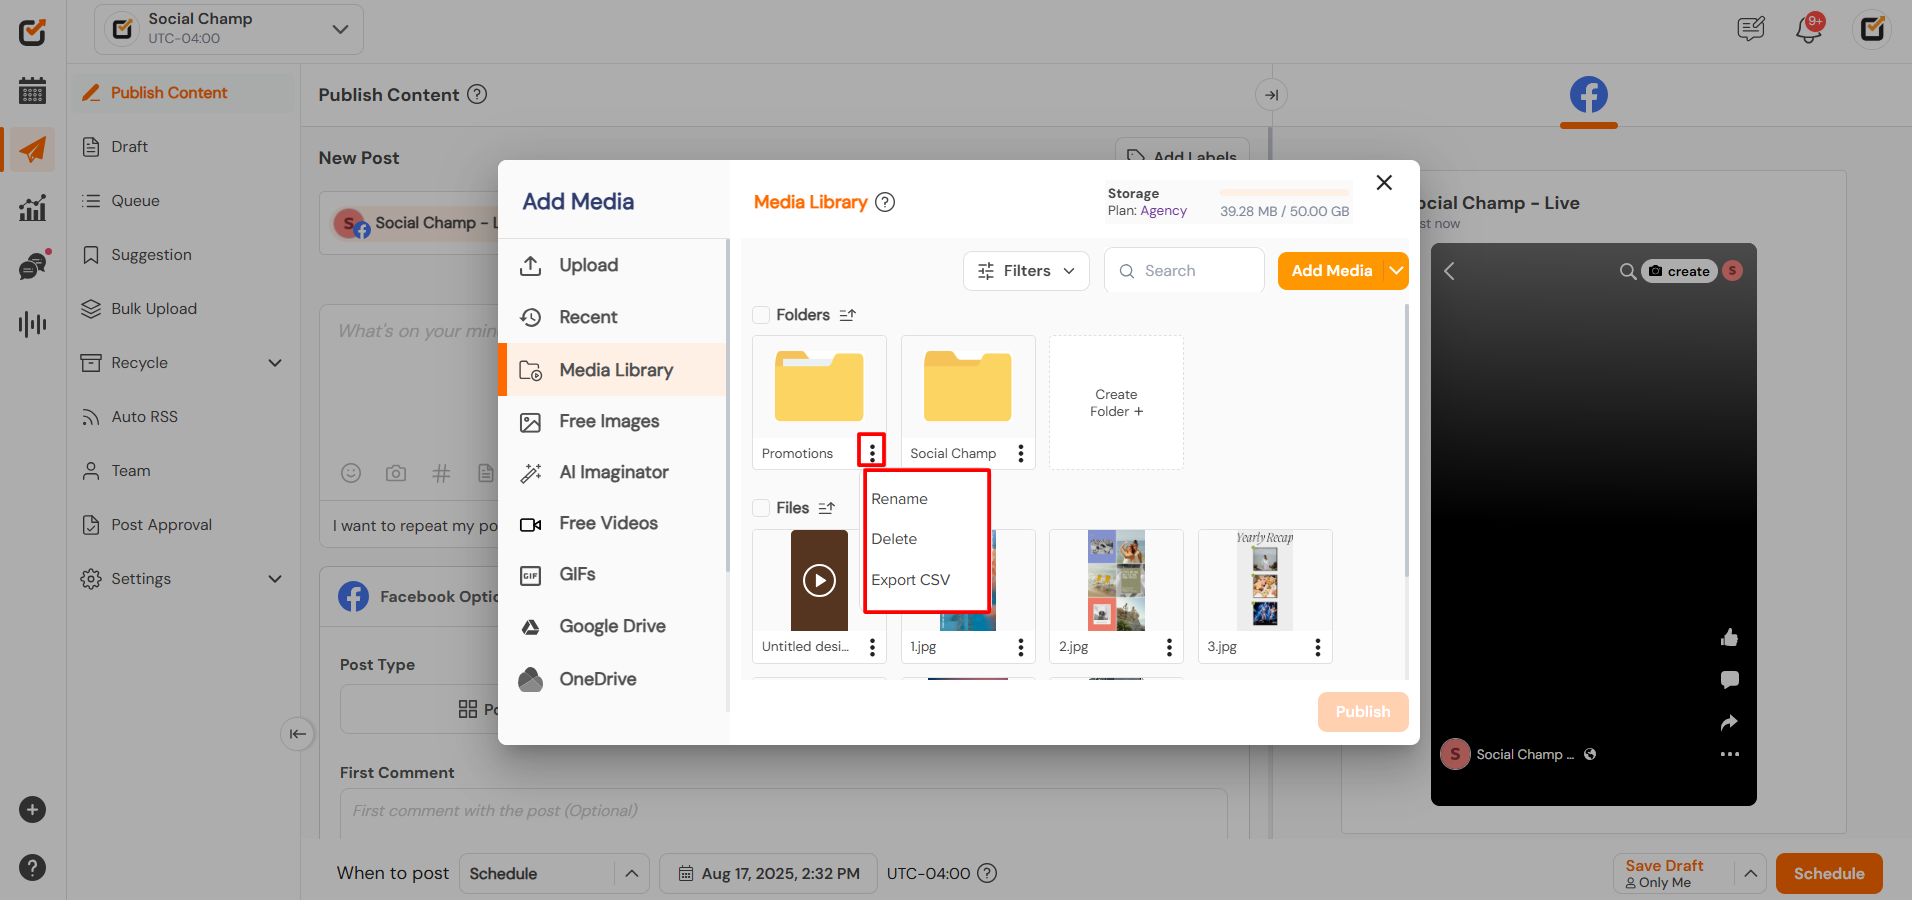
- Select Media Library from the left panel. You can also create the folder by clicking Create Folder from the drop-down. A pop-up window will show up where you can name your folder and click Create.
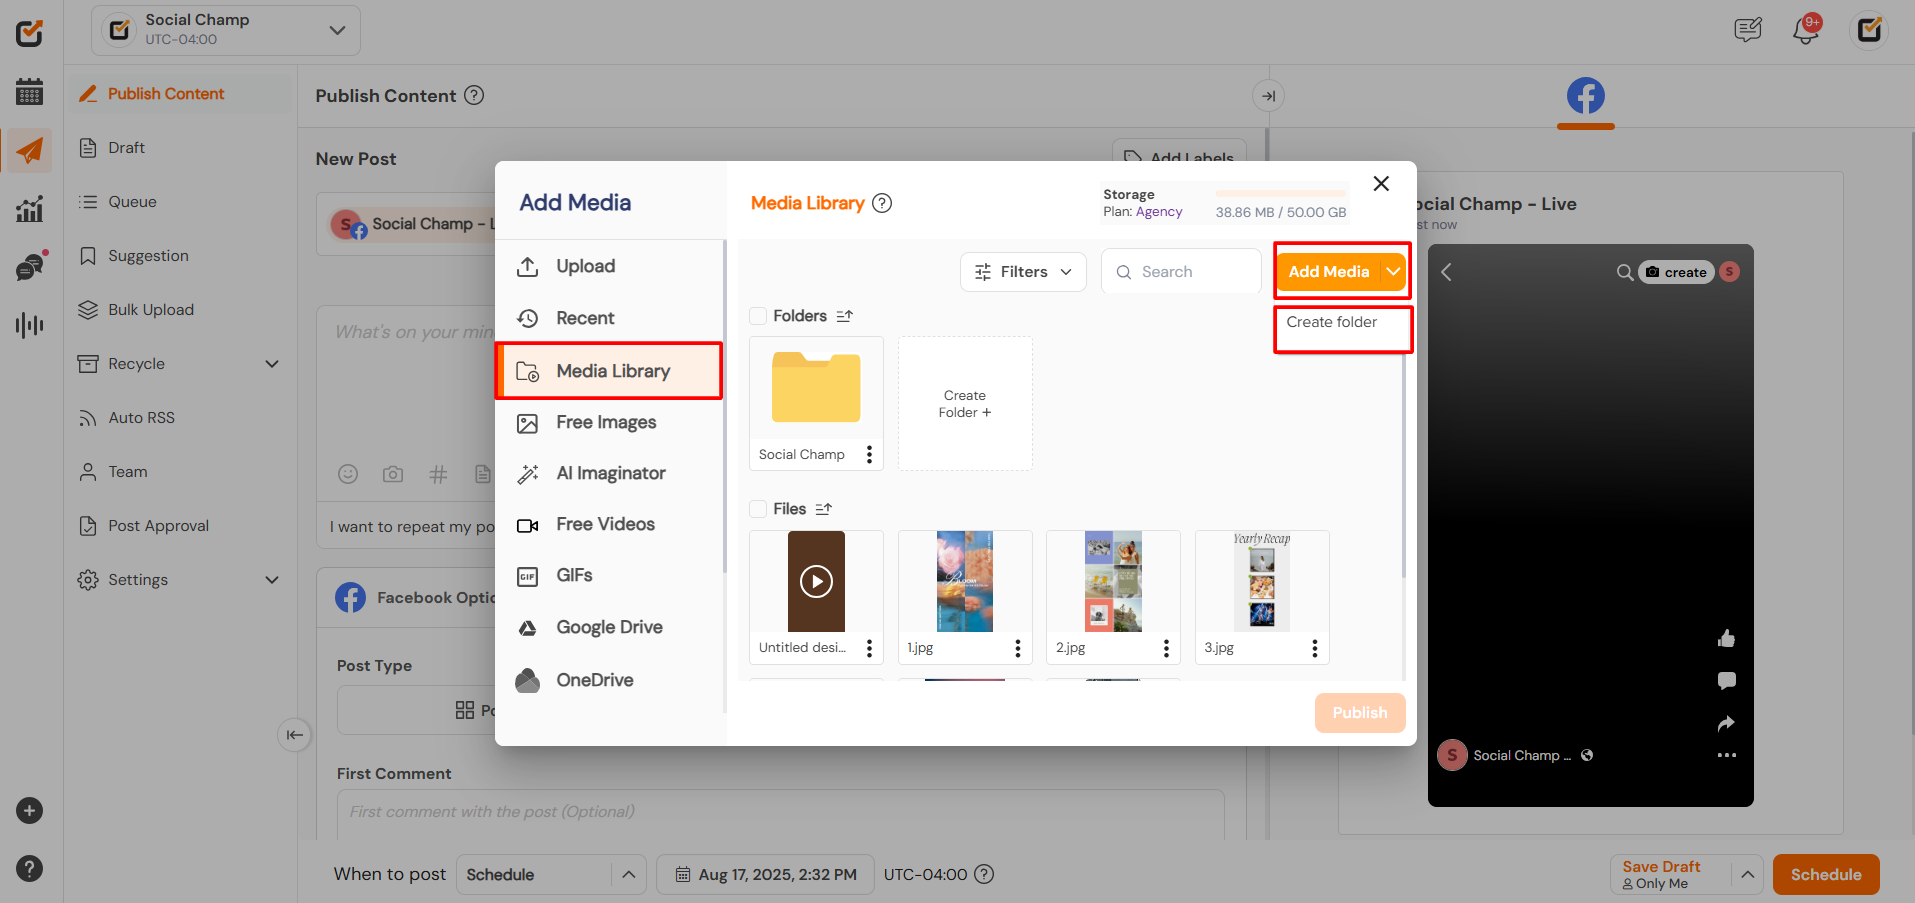

- You can upload the media in the folder by clicking the Add Media button.
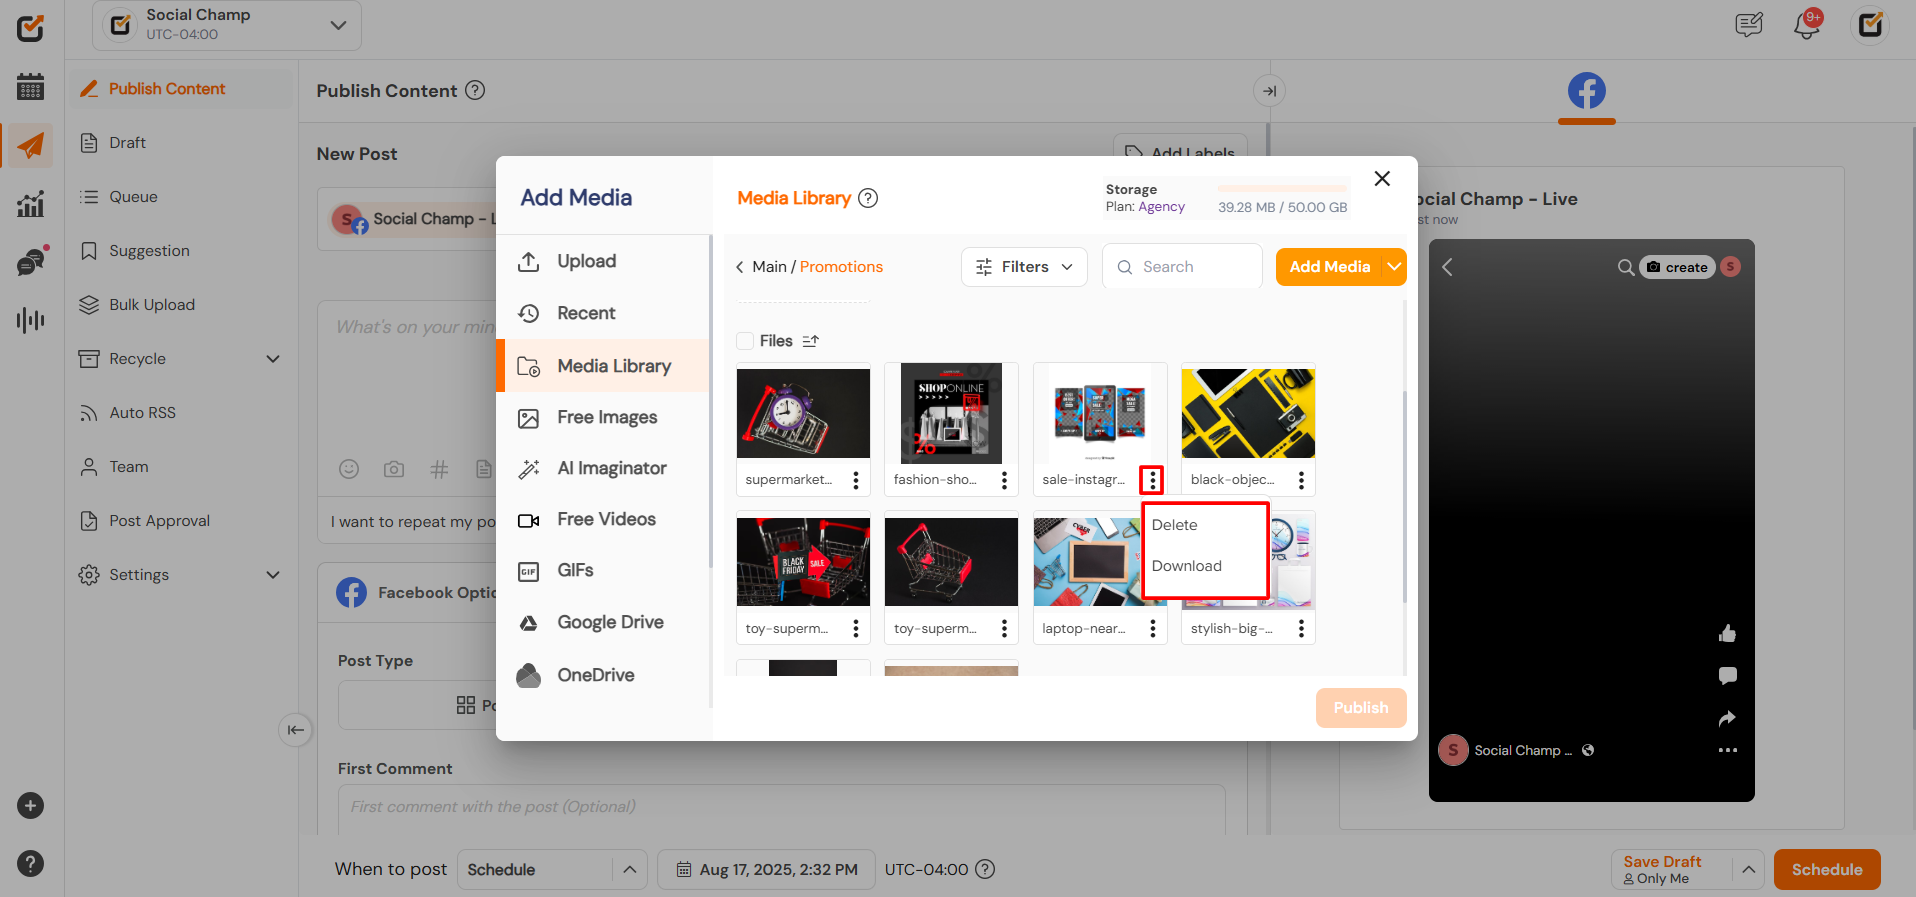
- You can view the media by clicking on the eye button. The media can also be downloaded and deleted by clicking on the 3 dots available at the bottom left corner.
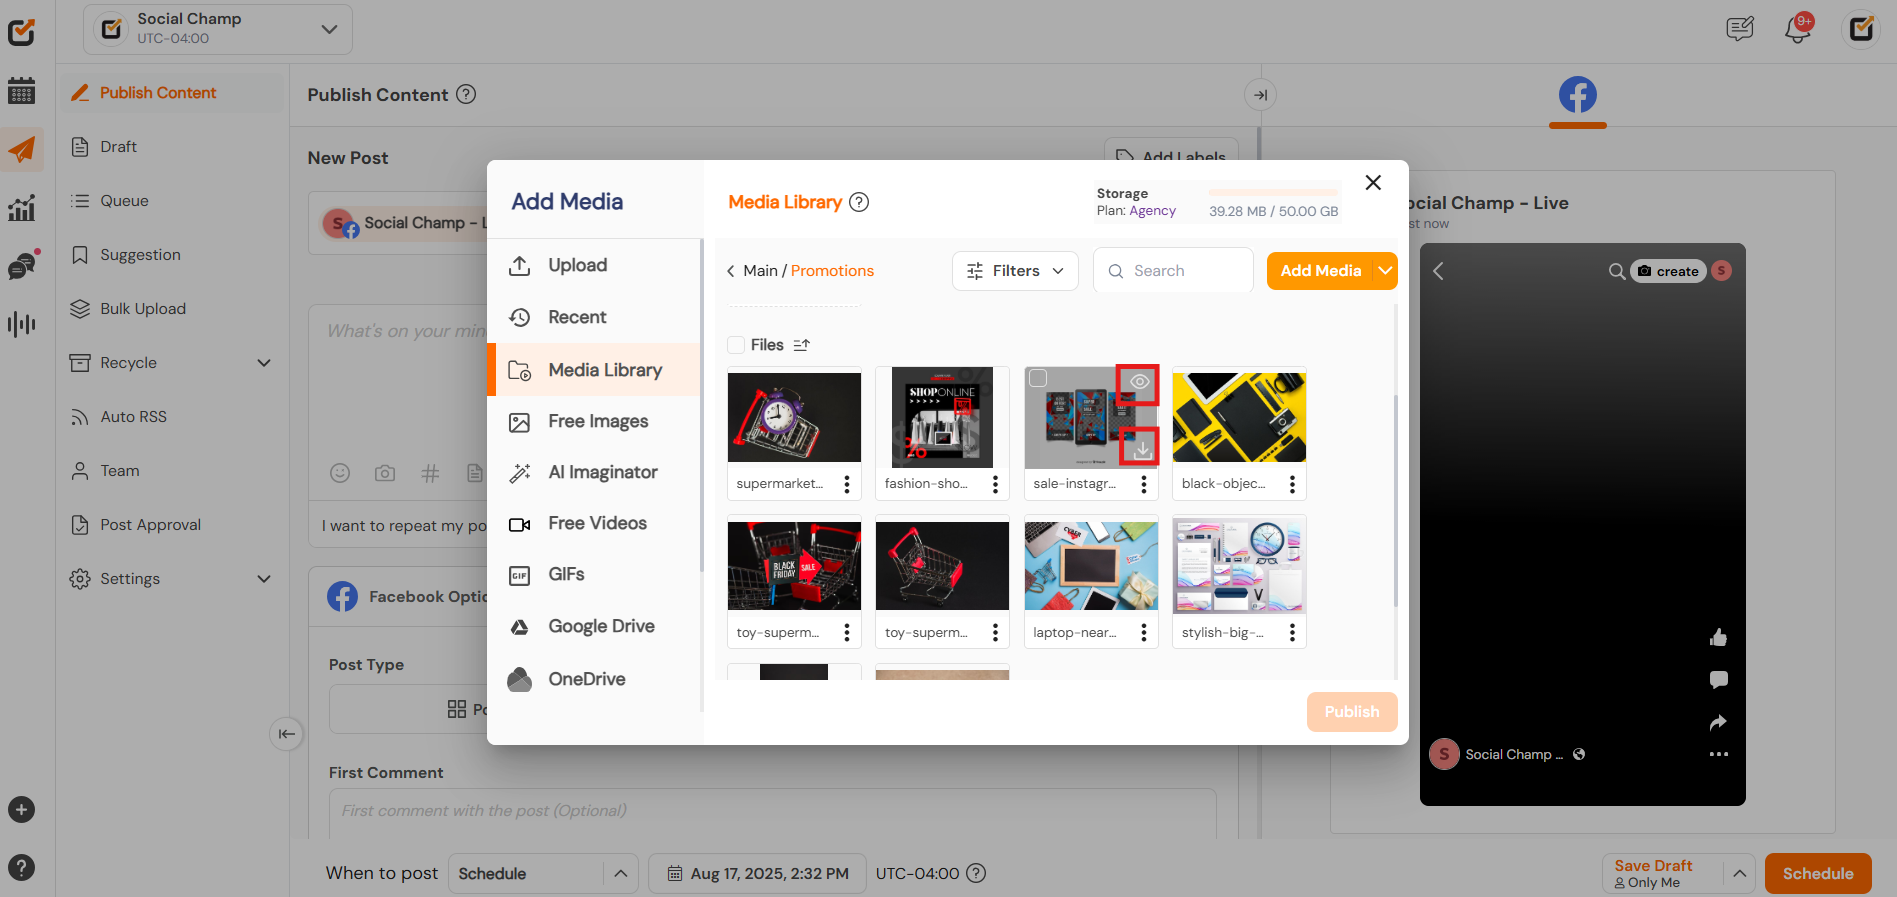
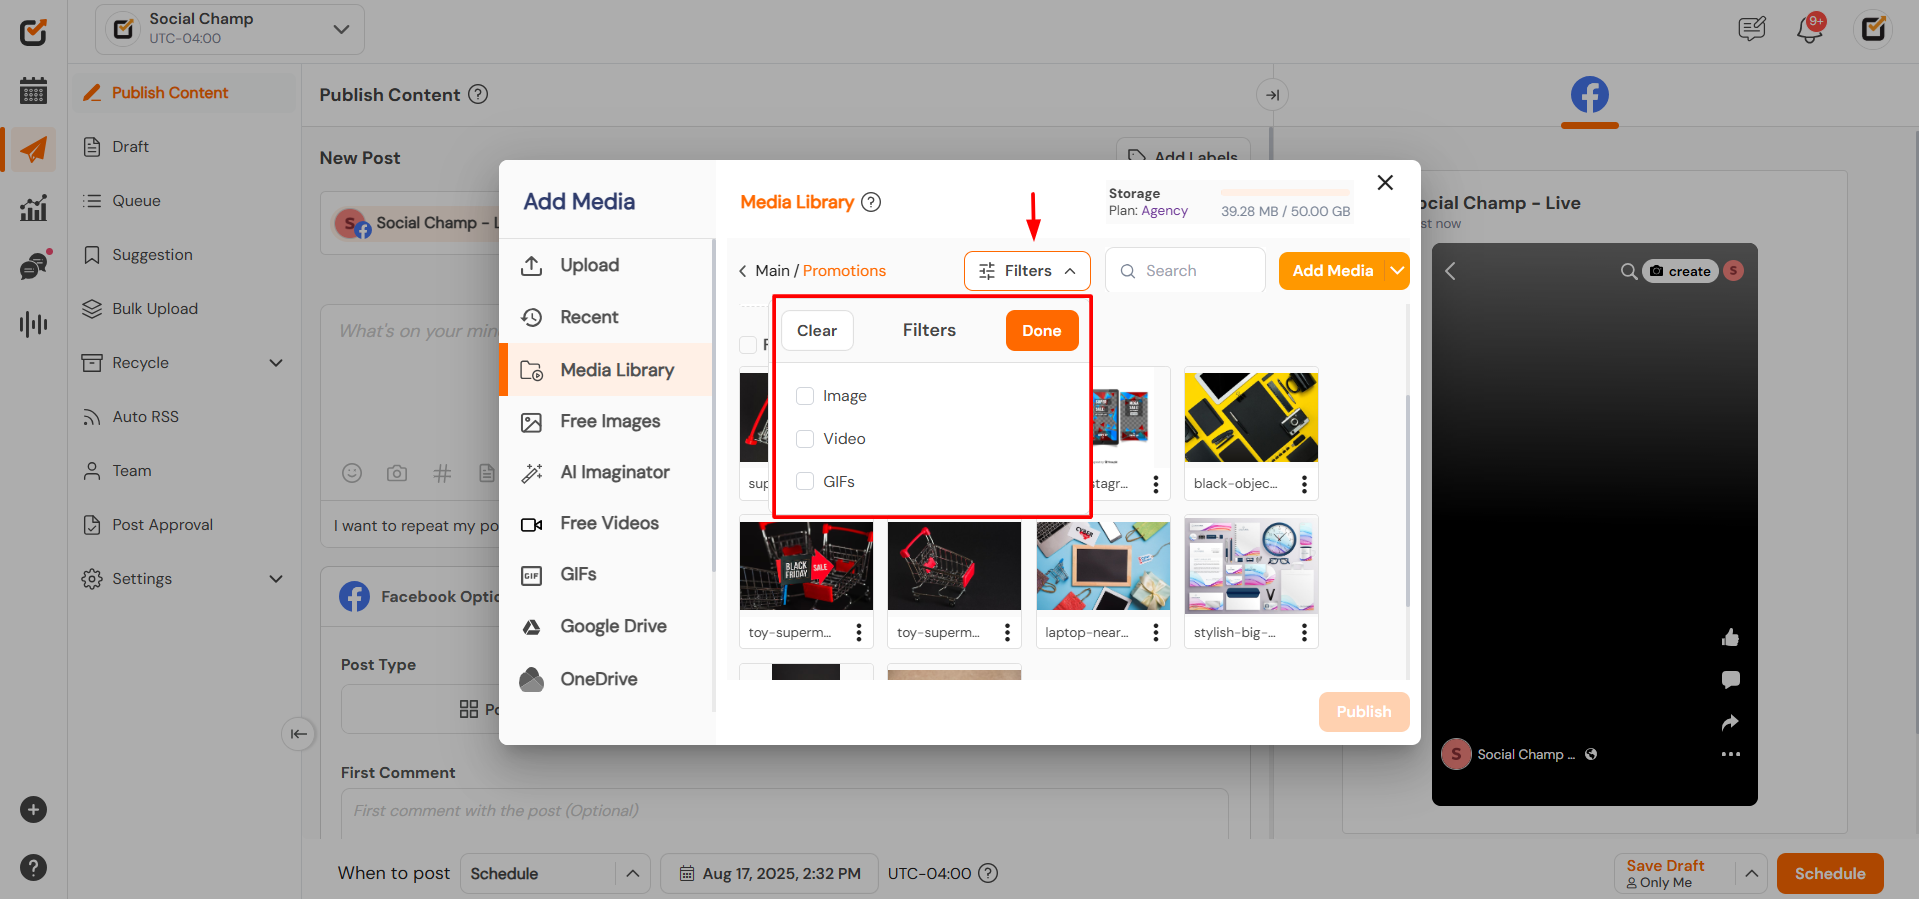
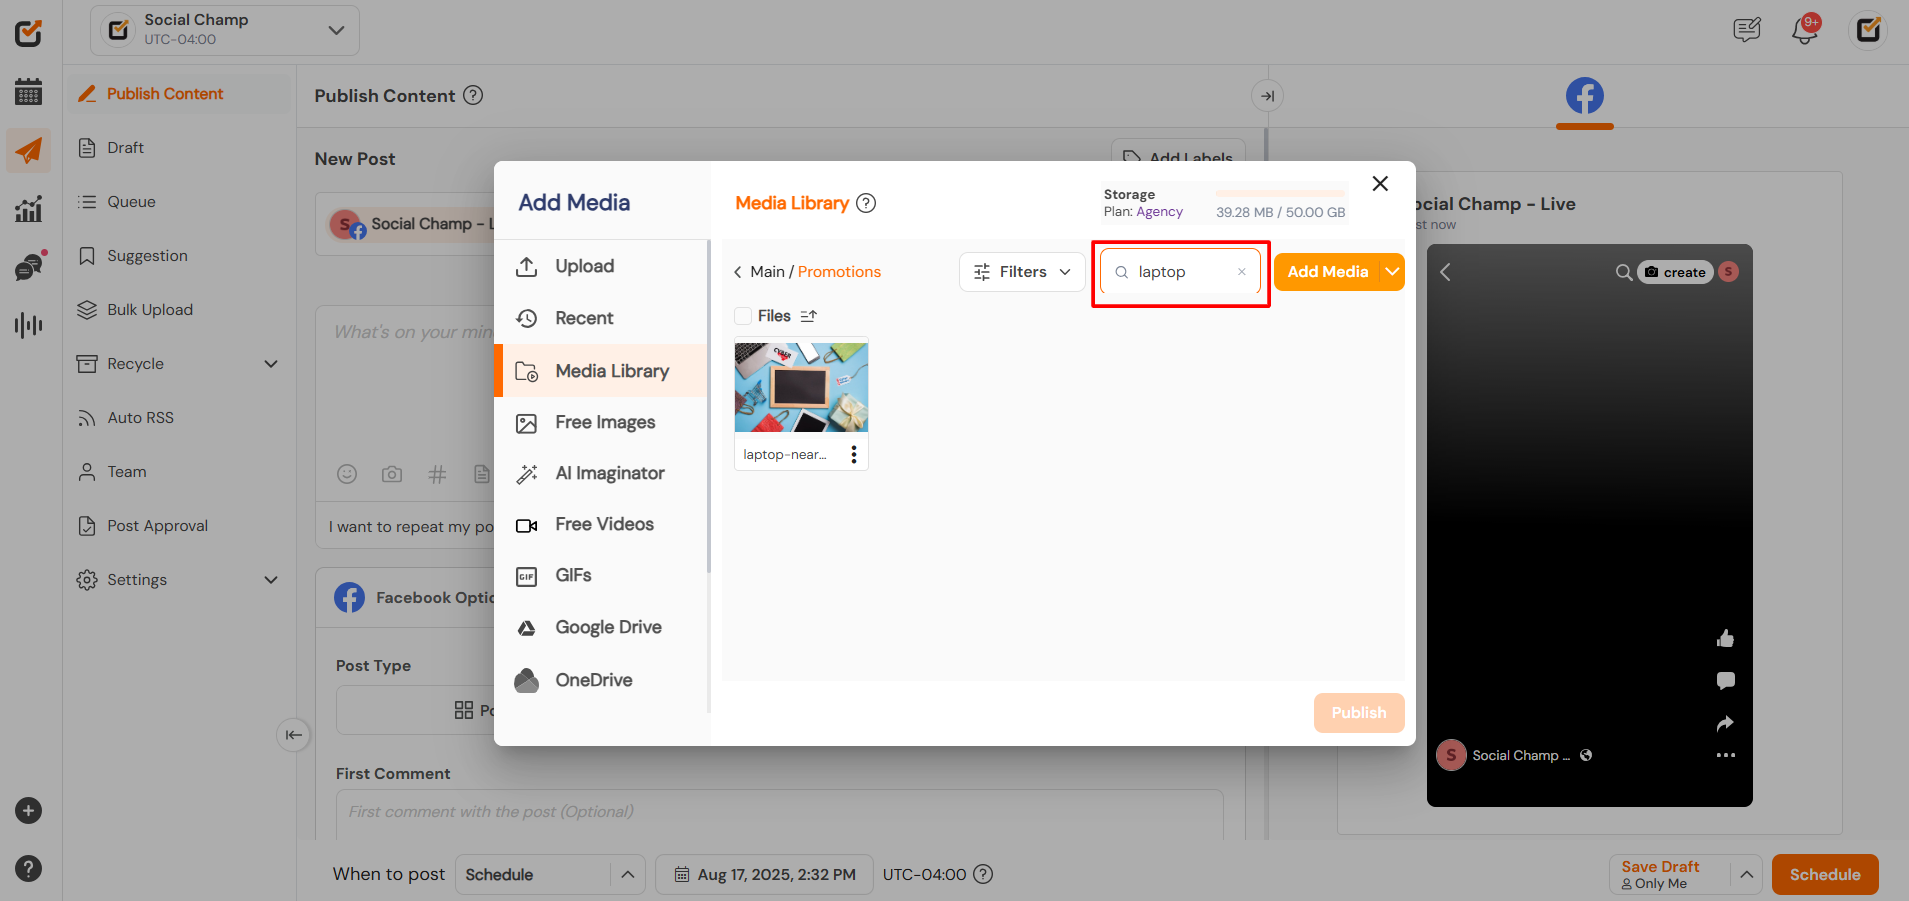
- Files can be filtered on the basis of images, videos, and GIFs.
- You can also search for the files by typing in the search box.
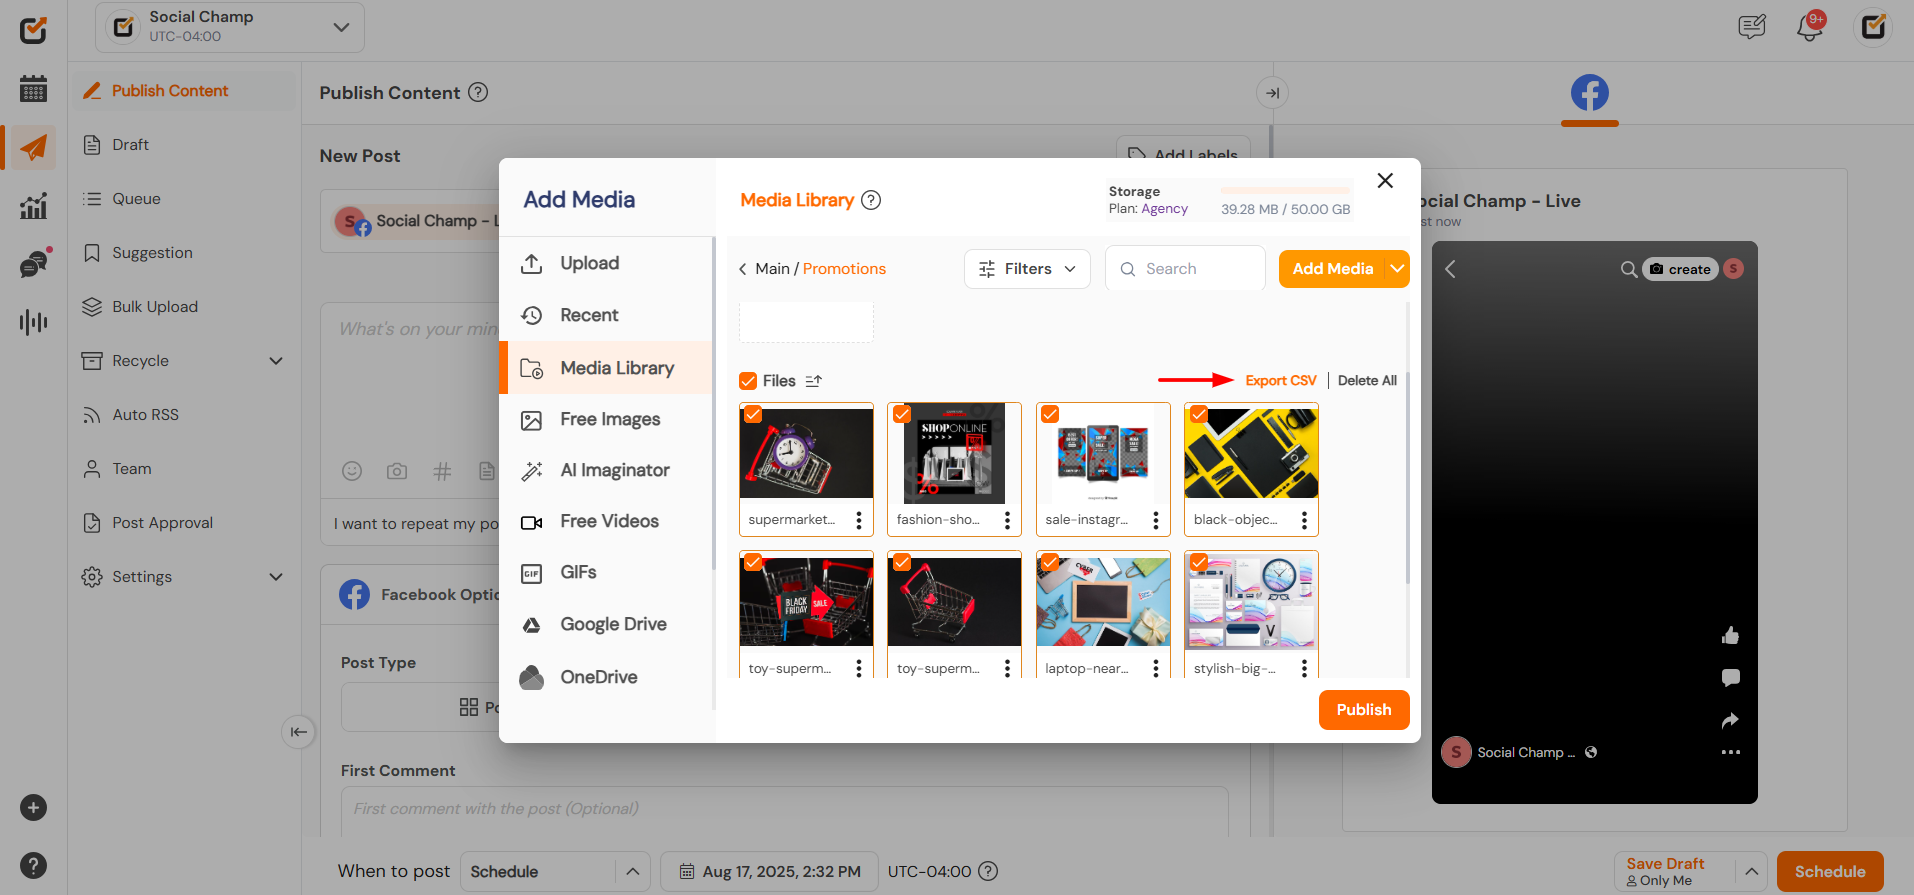
- By selecting the media file, you can also delete it and Export it in the CSV file for later use. (This way, you can also create public URLs for the media).
- Moreover, by clicking on the 3 dots available in the folder, you can Rename, Export CSV, or delete the folder.
- Once the media is selected, you can click on the Publish button to make it part of your post.
 There are different storage limits as per each pricing plan.
Free Plan — Starter Plan 10 GB Growth Plan 50 GB Enterprise Plan Unlimited
Great work! Now you know how to use the feature Media library and enhance your post scheduling.
Get the Support you need
Having trouble? Got a question? We’re here to support you every step of the way. Simply email us at support@socialchamp.com and we’ll get back to you.
Hello Champs! Each social media platform has its own set of recommended formats and sizes for uploading media (images, videos, Read more
Canva integration with Social Champ is indeed a powerful addition to the tool. You can now create, edit, and schedule Read more
Note: This guide is based on an earlier version of Social Champ. Some steps or features may have changed. Please Read more
Note: This guide is based on an earlier version of Social Champ. Some steps or features may have changed. Please Read more